
When To Use The Clone Stamp Tool In Photoshop For Real Estate Photography
The clone stamp tool in Adobe Photoshop is a very helpful tool for real estate photographers to understand. It’s no surprise either since we named Adobe Photoshop the Best Editing Software for Real Estate Photography.
In this article I’ll discuss when to use the clone stamp tool in Photoshop for real estate photography and share some best practices and techniques.
Table of Contents
What Is The Clone Stamp Tool?
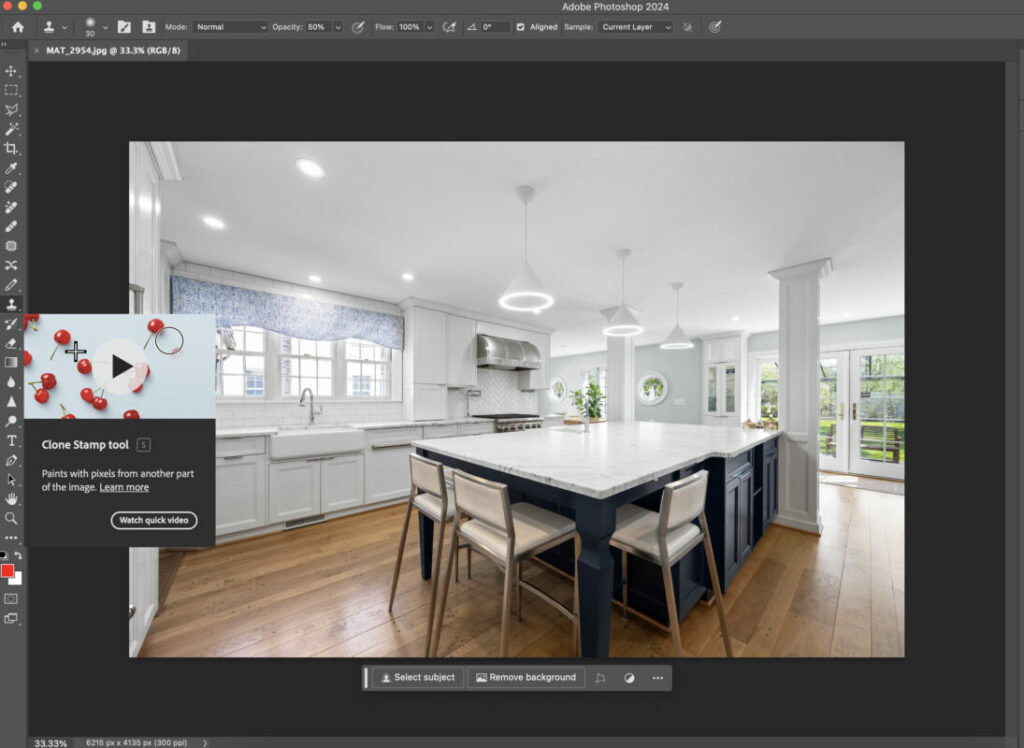
The Clone Stamp Tool allows you to duplicate parts of an image. By selecting a portion of the image, you can ‘clone’ it onto another part. This is particularly useful for replacing unwanted elements with more desirable textures or features from elsewhere in the same image.
Unlike the Healing Brush, which blends the source and target areas, the Clone Stamp replicates the exact pixels from the source. This offers greater control, especially in areas with consistent texture or pattern, making it ideal for detailed and precise editing work.
You can see the Clone Stamp Tool in the image above. If you’re unaware of the Healing Brush as well, check out our article When To Use The Healing Brush In Real Estate Photography.
When To Use The Clone Stamp Tool
1. Removing Unwanted Objects
Small to Medium-Sized Distractions:
- Real estate photos often include unwanted elements like cables, small cracks, alarm panels, or even pets that just won’t get out of the way. The Clone Stamp Tool can effectively remove these distractions by replacing them with textures from surrounding areas, maintaining the image’s integrity.
Bigger Objects:
- In some cases, larger objects like cars, trash bins, or signs may need to be removed. While more complex, the Clone Stamp can be used in combination with other tools for such tasks, especially if the surrounding area has a consistent texture or pattern.
2. Correcting Imperfections in Textures and Surfaces
Flooring and Walls:
- For real estate images, showcasing pristine walls and floors is essential. The Clone Stamp Tool can correct blemishes in wallpaper, paint, tiles, or hardwood floors, ensuring they appear well-maintained and appealing.
Consistency in Textures:
- When working with textured surfaces, maintaining consistency is key. The Clone Stamp allows for the replication of specific textures, ensuring that any corrections blend seamlessly with the original surface.
3. Enhancing Landscaping and Outdoor Features
Lawn and Garden Areas:
- Outdoor spaces are critical in real estate photography. The Clone Stamp can be used to fill in sparse lawn areas, enhance garden beds, or even add greenery, improving the property’s curb appeal.
Sky Replacement:
- In some cases, you might need to enhance or replace the sky. While there are dedicated tools for sky replacement, the Clone Stamp can be used for minor adjustments or to blend the new sky with the existing horizon line.
4. Interior Editing and Staging
Furniture and Decor:
- The Clone Stamp can assist in virtual staging by cloning existing furniture into different positions or removing pieces altogether. It can also be used to replicate patterns on soft furnishings or curtains for a consistent interior look.
Fixing Light Fixtures and Reflections:
- Glare from light fixtures or unwanted reflections in mirrors and windows can be adjusted using the Clone Stamp, ensuring that these elements don’t detract from the overall quality of the interior shot.
Techniques and Best Practices
Selection of Source Area:
- Choosing the right source area is crucial. It should closely match the target area in terms of texture, color, and lighting for a seamless edit.
Feathering and Opacity:
- Adjusting the feathering and opacity settings of the Clone Stamp is important for blending the cloned area naturally. A softer brush with lower opacity can help in achieving more subtle and gradual transitions.
Layer Usage:
- Work on a new layer when using the Clone Stamp Tool. This non-destructive approach allows for adjustments or undoing changes without affecting the original image.
Additional Resources
If you’re just getting started in real estate photography, check out our Beginners Guide. It’s full of helpful articles and tips that will guide you in the right direction as you begin your real estate photography journey.
You can check out our Gear section as well to see reviews and recommendations on the latest real estate photography gear.
If you’re more interested in other resources that can help your real estate photography business, check out our Business Resources page.