
Utilizing The Remove Tool In Photoshop For Real Estate Photography
The Remove Tool in Adobe Photoshop is a very helpful tool for real estate photographers to understand. It’s no surprise either since we named Adobe Photoshop the Best Editing Software for Real Estate Photography.
In this article I’ll discuss the bet ways to go about utilizing the Remove Tool in Photoshop for real estate photography.
Table of Contents
What Is The Remove Tool?
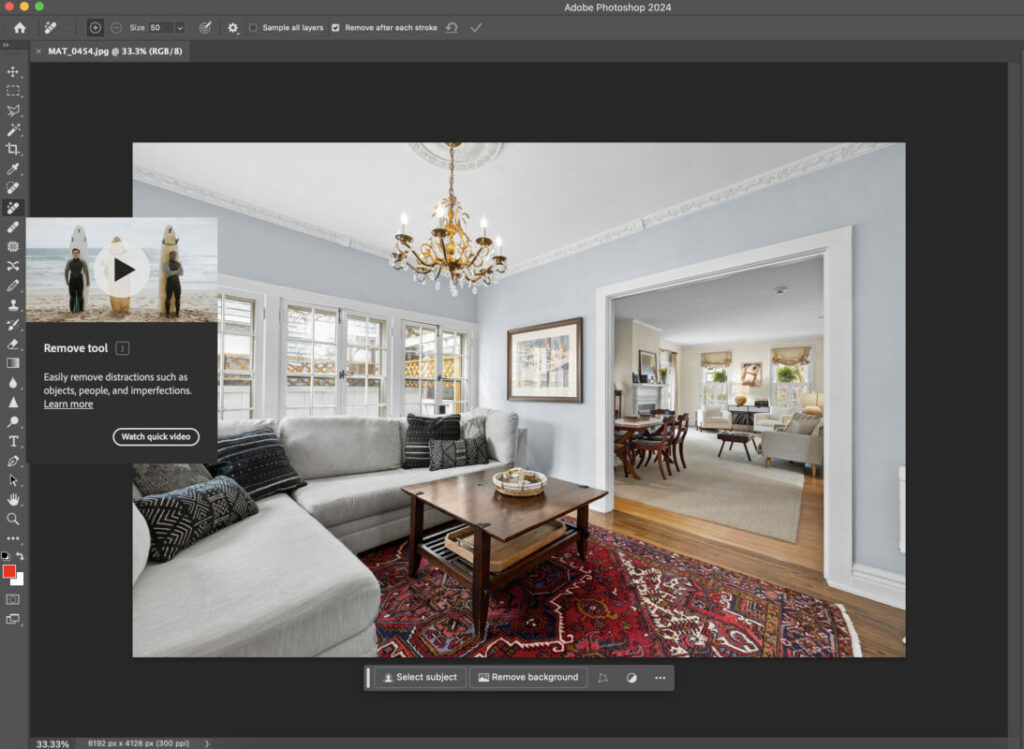
The Remove Tool in Photoshop offers a quick and often astonishingly easy way to eliminate unwanted objects or imperfections from an image. It assesses the surrounding area of the selected spot and attempts to fill it in a way that blends seamlessly with the background.
While similar to both the Healing Brush Tool and the Clone Stamp Tool, the Remove Tool might be the most effective for real estate photography editing. Out of the three, I certainly use the Remove Tool the most by far.
This tool is best suited for areas with relatively uniform patterns or textures around the object that needs to be removed. It works exceptionally well where replication of intricate patterns or precise texture matching is required.
When to Use the Remove Tool in Real Estate Photography
1. Erasing Minor Distractions
Unwanted Elements in Outdoor Shots:
- For exterior shots, things like power lines, small signage, or even an unwanted trash can on the street can be distracting. The Remove Tool can effectively erase these elements, especially when they’re set against a clear sky or a uniform background like a lawn or a solid-colored wall.
Clearing Up Pavements and Driveways:
- Random leaves, small debris, or transient stains on pavements and driveways can be quickly cleared up using the Remove Tool, enhancing the property’s curb appeal in the listing.
2. Interior Imperfections
Small Fixtures and Fittings:
- Sometimes, you might need to remove small fixtures or fittings, like an old thermostat on a wall, outdated alarm systems, or non-functional light switches that might detract from the room’s aesthetic.
Minor Floor or Wall Marks:
- The Remove Tool can be used to tidy up scuffs on hardwood floors, minor cracks on walls, or small stains on carpets, ensuring the interiors appear well-maintained and inviting.
3. Post-Construction Cleanup
Removing Protective Coverings:
- In newly constructed or renovated properties, protective plastic coverings, stickers on appliances, or temporary labels can be removed post-shoot using the Remove Tool, presenting a ready-to-move-in appearance.
Construction Debris:
- Small construction materials or debris inadvertently left behind during the shoot can also be erased, giving a clean, polished look to the property.
4. Landscaping Enhancements
Adjusting Lawn Imperfections:
- Bare patches on lawns or inconsistent grass can be corrected, especially when the surrounding area provides a similar texture for a natural fill.
Gardening Blemishes:
- For properties with gardens, the Remove Tool can help in eliminating dead spots in foliage, stray leaves, or other minor gardening imperfections.
Best Techniques for Effective Use
Selective and Thoughtful Editing:
- When using the Remove Tool, it’s important to be selective. Overuse or inappropriate use, especially in areas with complex patterns or varying textures, can lead to unnatural results.
Working in Layers:
- Always work on a separate layer when using the Remove Tool. This non-destructive approach allows for easy revisions and adjustments without affecting the original image.
Fine-Tuning with Other Tools:
- Sometimes, the results from the Remove Tool may need fine-tuning. Be prepared to use other tools like the Clone Stamp or Healing Brush for final touches.
Additional Resources
If you’re just getting started in real estate photography, check out our Beginners Guide. It’s full of helpful articles and tips that will guide you in the right direction as you begin your real estate photography journey.
You can check out our Gear section as well to see reviews and recommendations on the latest real estate photography gear.
If you’re more interested in other resources that can help your real estate photography business, check out our Business Resources page.