
How To Use Photoshop's Dodge And Burn Tools For Real Estate Photography
Adobe Photoshop’s Dodge and Burn Tools are extremely helpful for real estate photographers once you learn how to use them properly.
In this article I’ll explain how to use Photoshop’s Dodge and Burn Tools for real estate photography by sharing examples and showing how each of the tools work.
Table of Contents
Photoshop's Dodge and Burn Tools
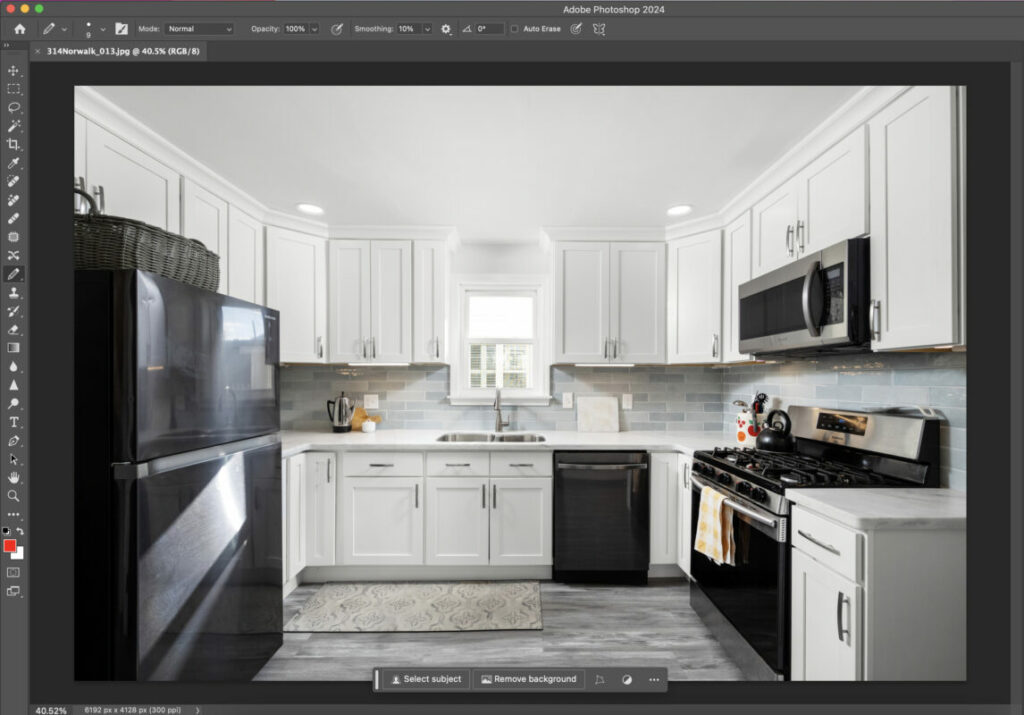
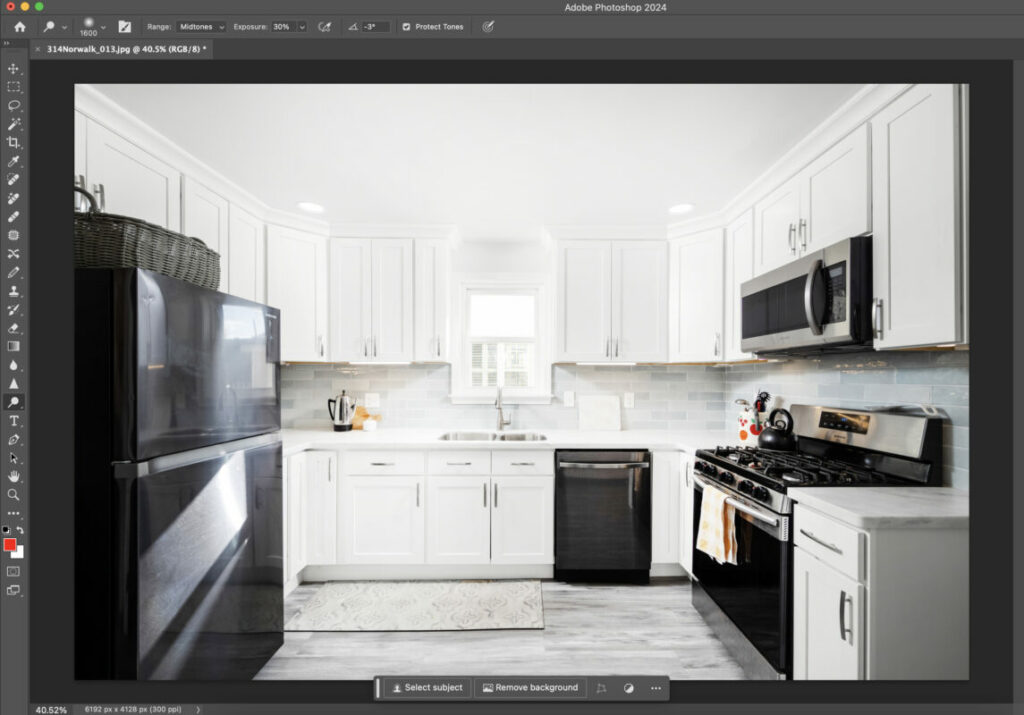
For this example and explainer I’ll be using Photoshop’s Dodge and Burn Tools on this image of a kitchen. Photoshop is an extremely powerful editing platform for real estate photography, we even named it the Best Editing Software for Real Estate Photography.
For real estate photographers specifically, learning how to use the Dodge and Burn Tools can really help to raise the overall quality of your images. For an in-depth read on what exactly Dodge and Burn Tools are, check out our article Understanding Dodge and Burn Tools in Photoshop.
Using Dodge And Burn For Real Estate Photography
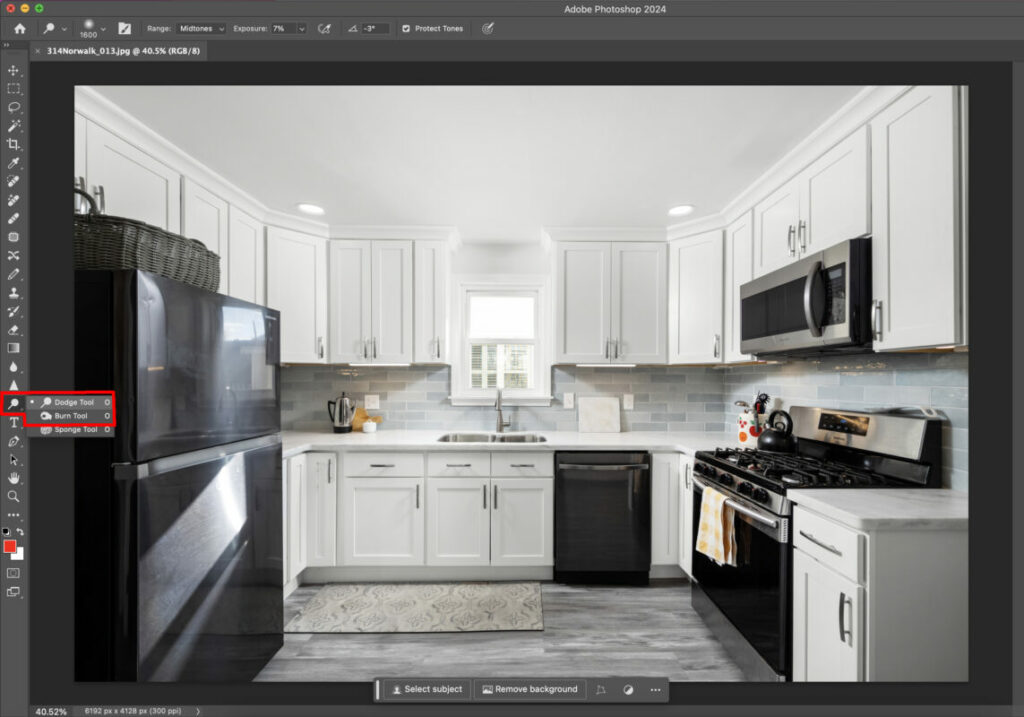
Once your image is open in Photoshop, you’ll just need to located the Dodge and Burn Tool on your toolbar. You can see the red highlighted portion in the photo above as a reference for what the Dodge and Burn Tool look like.
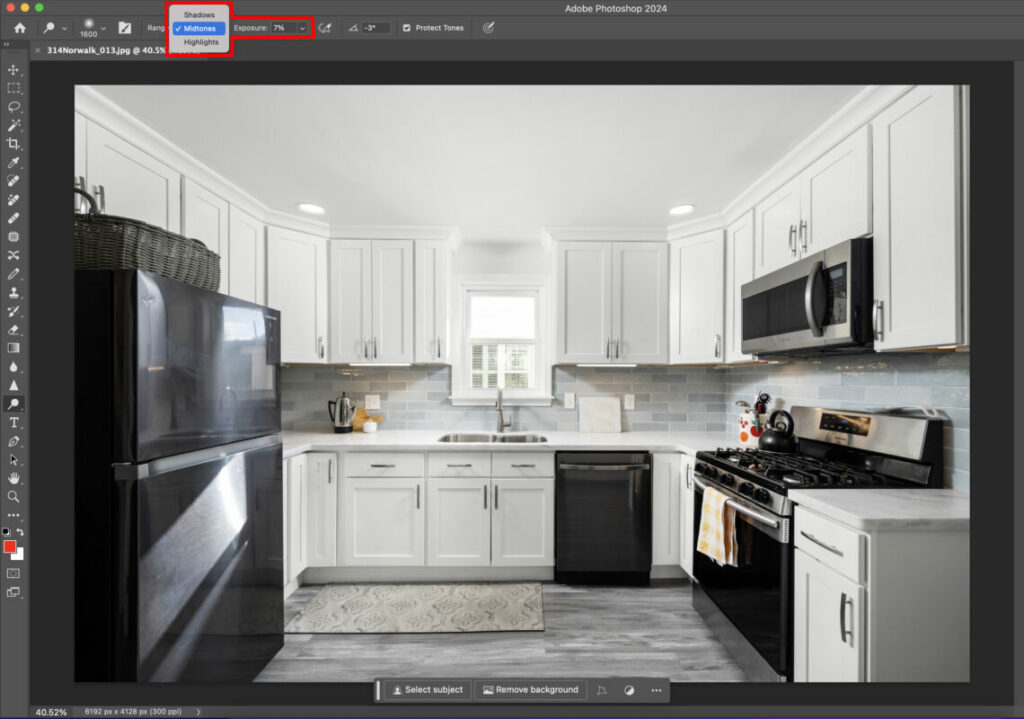
The next thing you’ll need to understand is that both the Dodge and Burn Tools work for Shadows, Midtones, and Highlights. You can also choose the exposure level that you want to have the Dodge and Burn tools at.
You can change these settings at the top of your Photoshop workstation, which you can see referenced in the red highlighted area in the photo above.
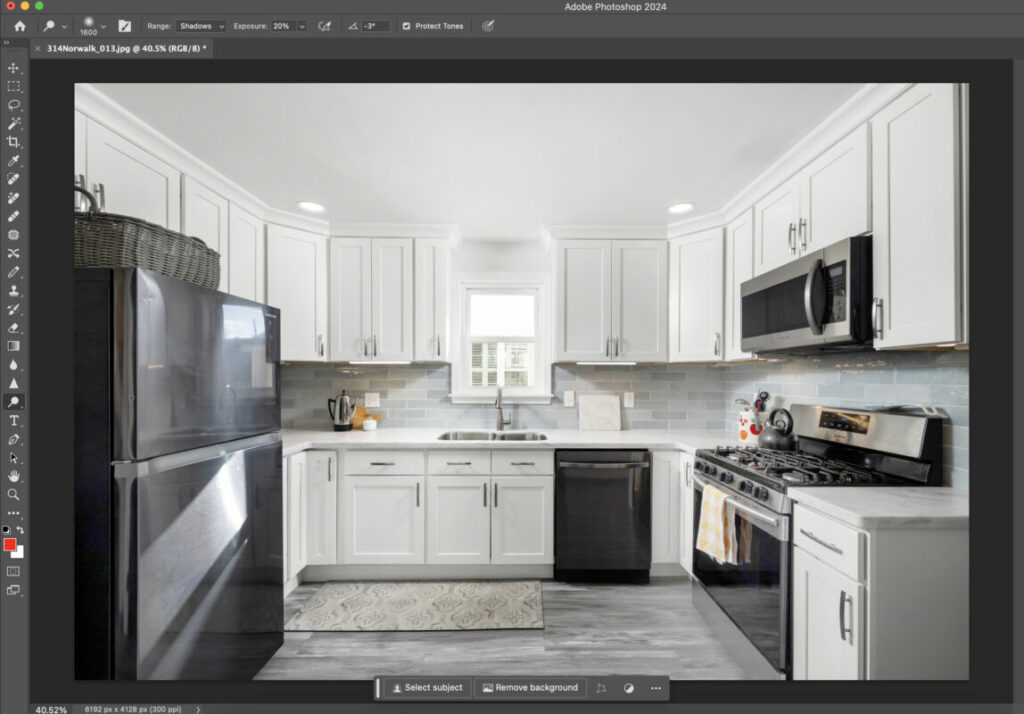
To understand the effect that the Dodge Tool can have, you can look at the image above. I used the Dodge Tool on the Shadows setting on both the refrigerator to the left of the image and the stove to the right.
When compared to the previous images, you can clearly see that many of the shadows have been pulled from both of these areas of the image. I used the Dodge Tool at 30% exposure, which really removed a lot of the shadows.
For this next example (above) I used the Dodge Tool on the Midtones setting at 30%. I used it around the middle of the image, going over the window, sink, and cupboards.
You can see the brightening effect that it had on this image. This can be used to really make it look like there is a ton of natural light coming in from windows or to brighten up areas of the photo without effecting others.

The Burn Tool, which I used in the image above, does the opposite of the Dodge Tool. In the previous two examples that shared I used the Dodge Tool to brighten parts of the image.
In this example, I used the Burn Tool on the Midtones setting at 30% in order to darken areas of the image. I used the tool around the window, sink, and cupboards. As you can see, it made these areas of the image substantially darker.
This can be very helpful if portions of your images are too bright or even blown out. Burning these areas can help balance the lighting in your frame.
Additional Resources
If you’re just getting started in real estate photography, check out our Beginners Guide. It’s full of helpful articles and tips that will guide you in the right direction as you begin your real estate photography journey.
You can check out our Gear section as well to see reviews and recommendations on the latest real estate photography gear.
If you’re more interested in other resources that can help your real estate photography business, check out our Business Resources page.