
How To Create A Photo Proof In Adobe Lightroom
Although you may not need to use photo proofs too often in real estate photography, there will be plenty of jobs and situations where you’ll want to send one to a client.
In this article I’ll briefly describe what a photo proof is and explain how to create a photo proof in Adobe Lightroom.
Table of Contents
What Is A Photo Proof
Essentially, a photo proof is a collection of thumbnails of all the photos from a shoot, presented together on a single sheet or digital file.
This tool serves as a visual summary of the session’s results, allowing photographers, clients, and other stakeholders to review the images quickly before making selections for further editing or printing.
Creating a photo proof in Adobe Lightroom is extremely easy, just like most functions in Lightroom. We even named Adobe Lightroom the Best Editing Software For Real Estate Photographers.
How To Create A Photo Proof In Lightroom

The first step in creating a photo proof in Adobe Lightroom is to import all of the images that you want to include in the proof.
Whether you already have them in Lightroom or you need to import them from your hard drive, this step is extremely easy.
In order to do this you need to be on the Library tab (seen highlighted in red at the top of the above image) and then click ‘IMPORT’ which you can see highlighted in red in the lower left of the image above.
Once you’ve selected and imported all of the images that you want to include in your photo proof, you can move on to the next step.

Navigate to the ‘PRINT’ tab as referenced in the image above. Then, make sure to select the ‘single image / contact sheet’ selection from the drop down menu.
You can see both of these selections highlighted in red in the image above.
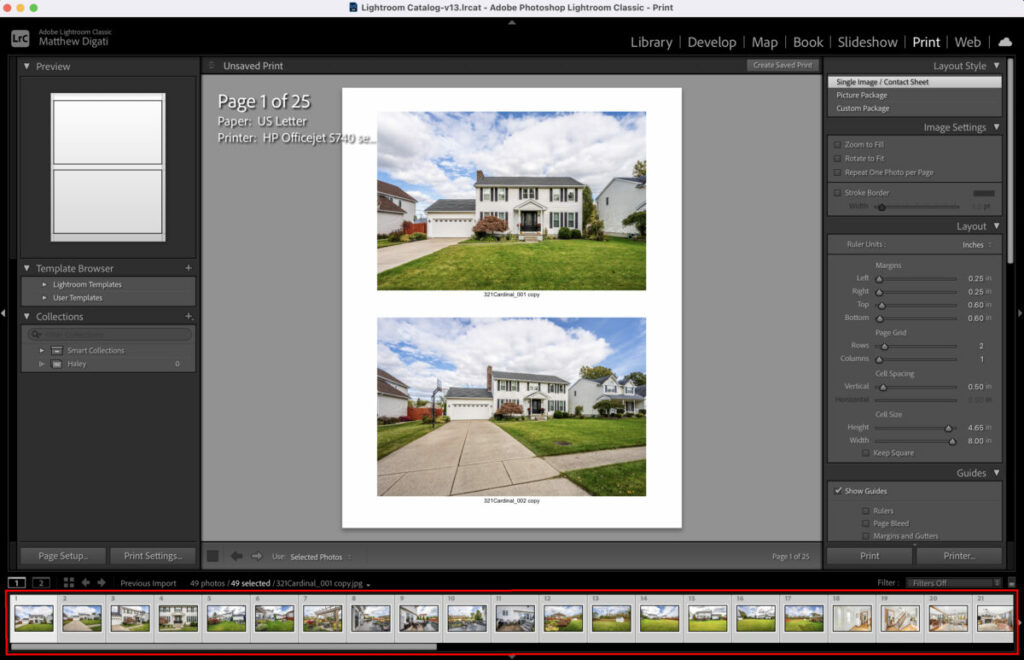
Next, you’ll want to make sure that you’ve selected all of the images that you’re going to include in the photo proof.
You can do this by clicking on the first image, holding down SHIFT, then clicking on the last image in your gallery. You can reference the red highlighted area in the image above to see where you can select all of the images.

You can change the design and look of the photo proof by using the sliders in the ‘LAYOUT’ menu.
Once you open the Layout menu you can choose things like how many images you want included on the page, and how they are displayed in terms of number of rows and columns.
For this example, I changed the amount of Rows from 2 to 3, which added 1 more image to each page on the photo proof.
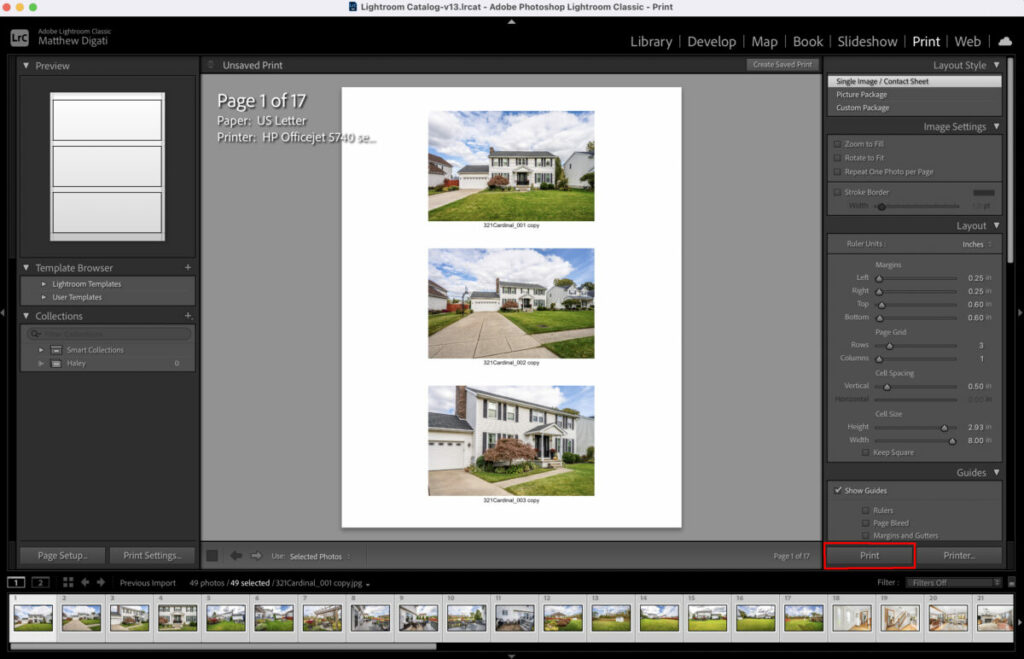
Once you’ve decided on the design elements of the photo proof, you’re ready to create the final proof.
To do this, simply press the ‘PRINT’ button that you can see highlighted in red in the image above. Choose where you want the proof to be saved and the format you’d like, and you’ll have created your final Photo Proof.
Personally, I prefer a PDF since it’s one of the most simple ways to send and share files.
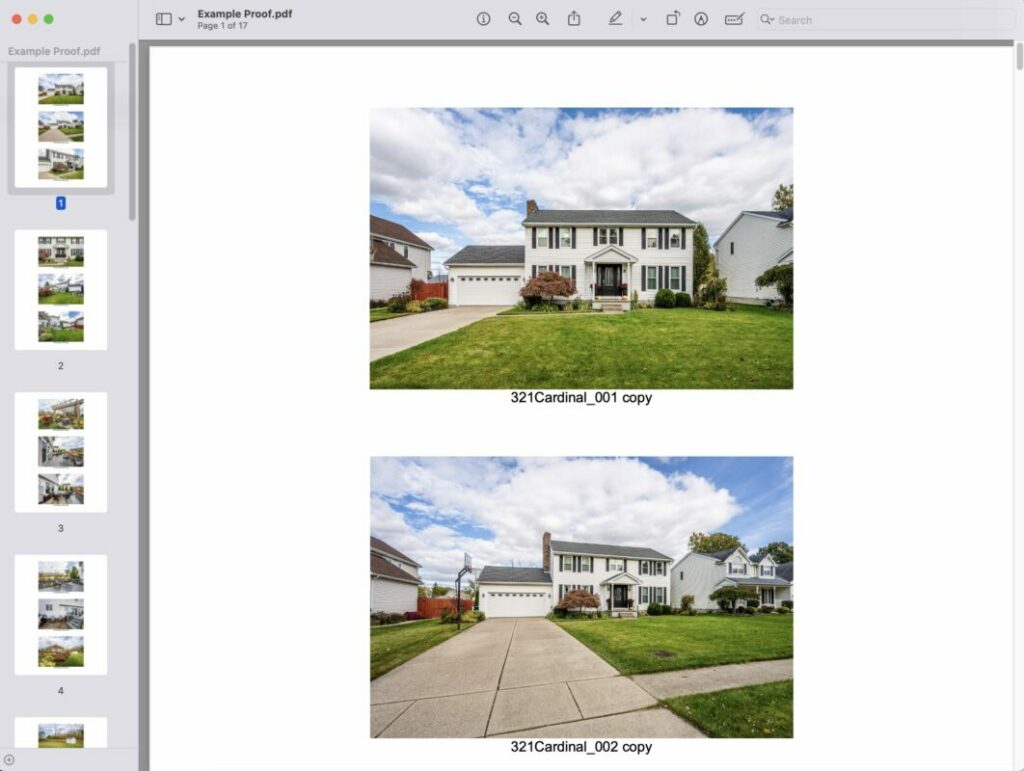
Above you can see what the final photo proof looks like.
Additional Resources
If you’re just getting started in real estate photography, check out our Beginners Guide. It’s full of helpful articles and tips that will guide you in the right direction as you begin your real estate photography journey.
You can check out our Gear section as well to see reviews and recommendations on the latest real estate photography gear.
If you’re more interested in other resources that can help your real estate photography business, check out our Business Resources page.