This article uses affiliate links
How To Remove Color In Lightroom
Adobe Lightroom is a very powerful and effective editing program that is considered to be the industry standard in the real estate photography world. One thing that’s particularly great at is removing colors from images.
In this article I’ll explain how to remove colors in Lightroom and explain some situations where this feature can be extremely helpful.
Table of Contents
Why You Might Want To Remove Color
There are various reasons why you might want to remove color from a photo.
Sometimes the lighting from a lamp or light fixture might be really warm and making a portion of the photo very yellow when nothing else in the image is yellow. In this case, removing some of the yellow glow could really help the overall look of the photo.
In other cases the light coming in from the windows might be casing a green color due to leaves or grass onto the ceiling. In this case, you’d want to tone down the green.
You can see that there are many ways why you might want to remove color from a real estate photo. There are countless reasons that removing colors could help photos look better.
Removing Colors In General
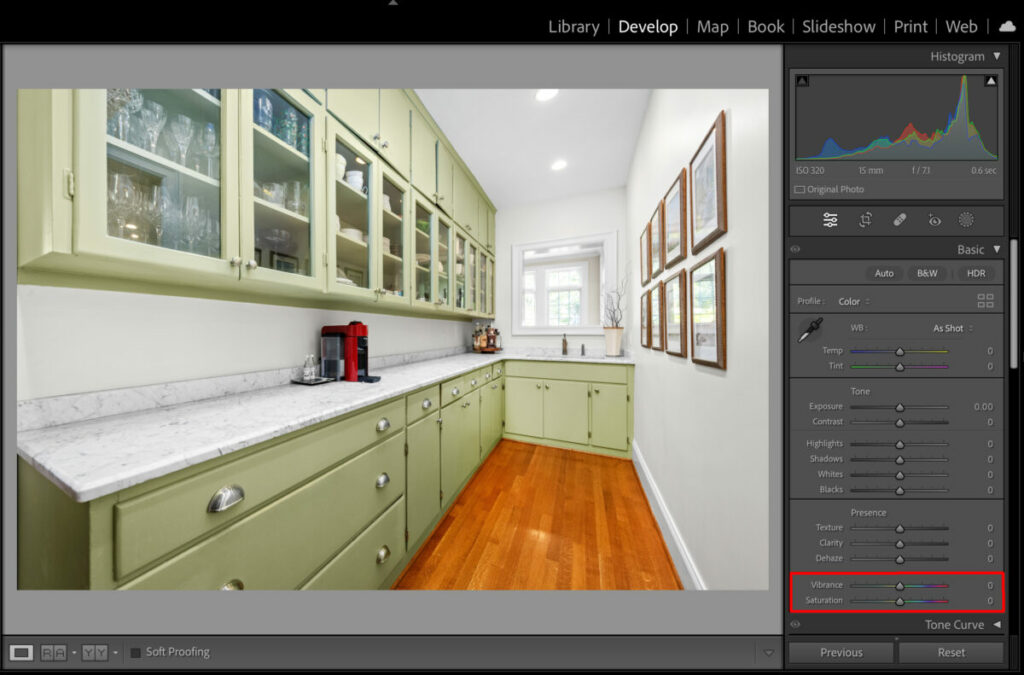
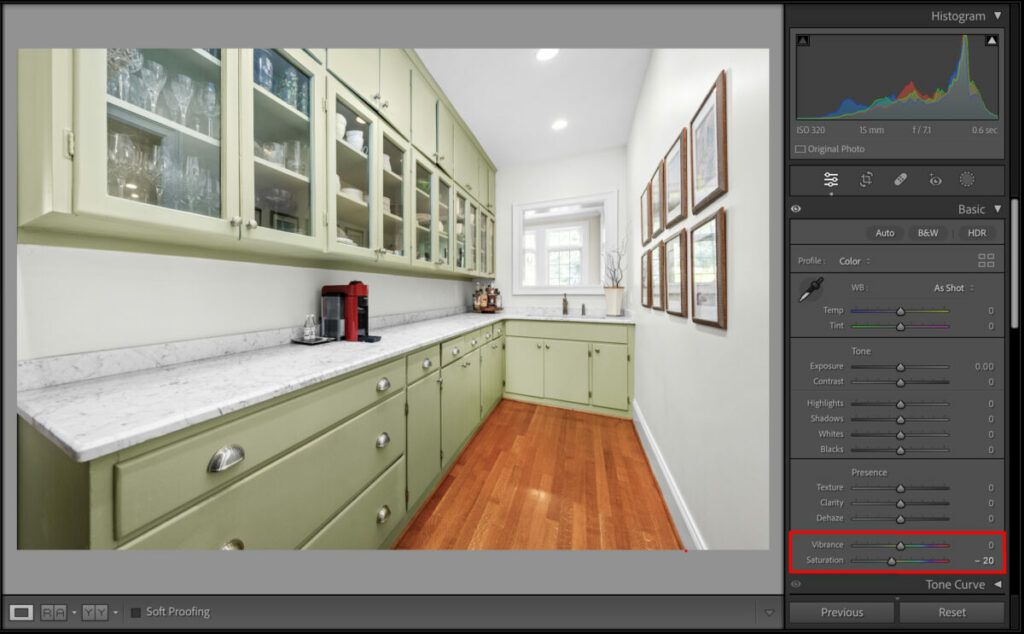
The easiest way to remove colors in general is by using the vibrance and saturation sliders under the Basic menu.
If you’re finding that the image is too saturated or too colorful, a fast way to fix this issue can be by playing around with these two sliders until you have the color level at a place you find acceptable.
From the two images you can see below, you can see how large of a difference just a 20% reduction in overall saturation can make in the photo.


Removing Specific Colors
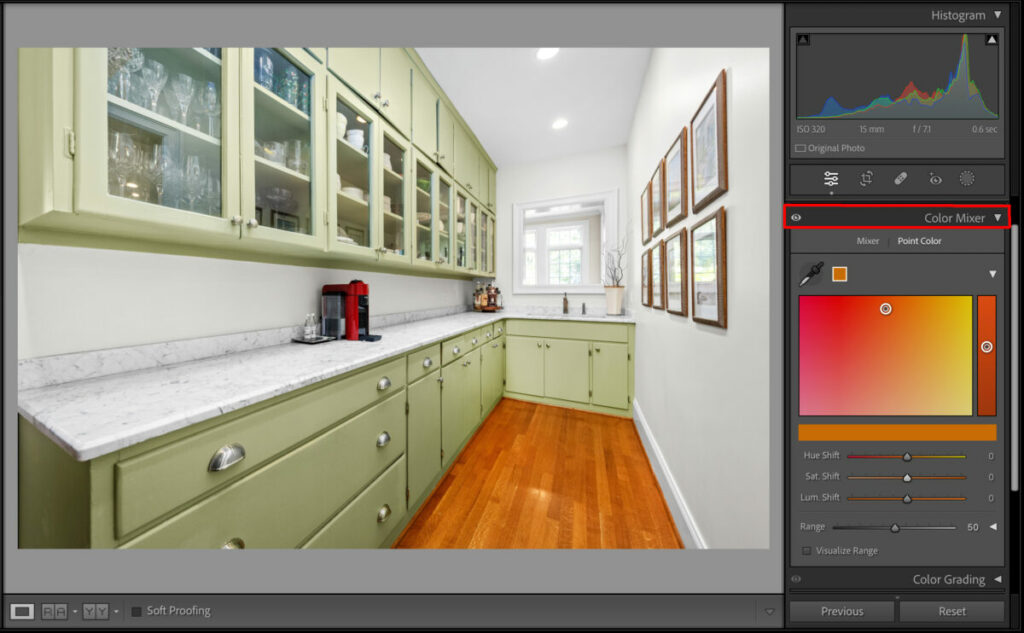
If you are looking to remove a specific color, which is likely to be more helpful in real estate photography than just removing all colors, then you’ll want to use the sliders and color selectors under the Color Mixer menu.
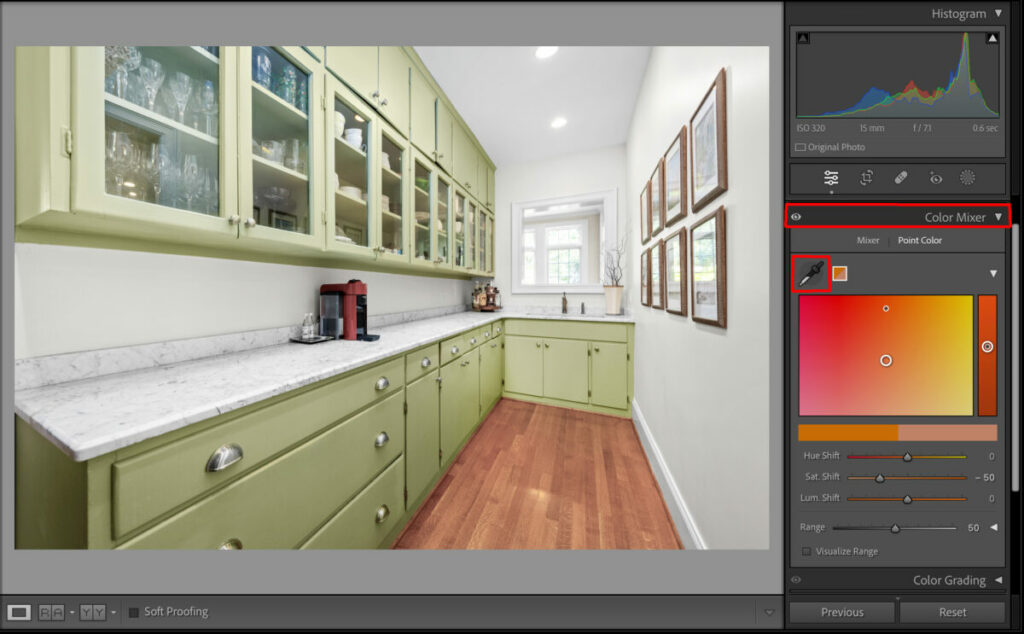
From this menu, you can either manually select the color that you want to change or you can use the dropper tool to select the color on the image itself.
In the example photos below, I used the dropper tool to select the color of the wood floor. As you can see, when the saturation is lowered 50%, the color of the wood floor is greatly reduced.
This can be a huge help in real estate photography since it’s more common to need to remove one or two colors rather than every color in the photo.
You can also increase specific colors as well, although that is rarely something you’ll want to do in real estate photography.


Additional Resources
Give our article, Best Editing Programs for Real Estate Photography, a read if you want to learn why I believe Adobe Lightroom is the best program available
If you’re just getting started in real estate photography, check out our Beginners Guide. It’s full of helpful articles and tips that will guide you in the right direction as you begin your real estate photography journey.
You can check out our Gear section as well to see reviews and recommendations on the latest real estate photography gear.
If you’re more interested in other resources that can help your real estate photography business, check out our Business Resources page.
