
This article uses affiliate links
Understanding All The Basic Menu Sliders In Lightroom For Real Estate Photography
It’s very important for real estate photographers to understand Adobe Lightroom, especially the Basic menu section. After all, we named Adobe Lightroom the Best Editing Program for Real Estate Photography.
In this article I’ll explain each of the sliders and how they are used in real estate photography.
Table of Contents
Lightroom Basic Menu Sliders
The Basic menu in Lightroom is the first menu you see when you’re in Develop mode. It’s the most used and most useful menu in Lightroom and is extremely important when editing real estate photography.
You can see the change that each slider causes by looking at the corresponding photo and comparing it to the lead image.
Temperature
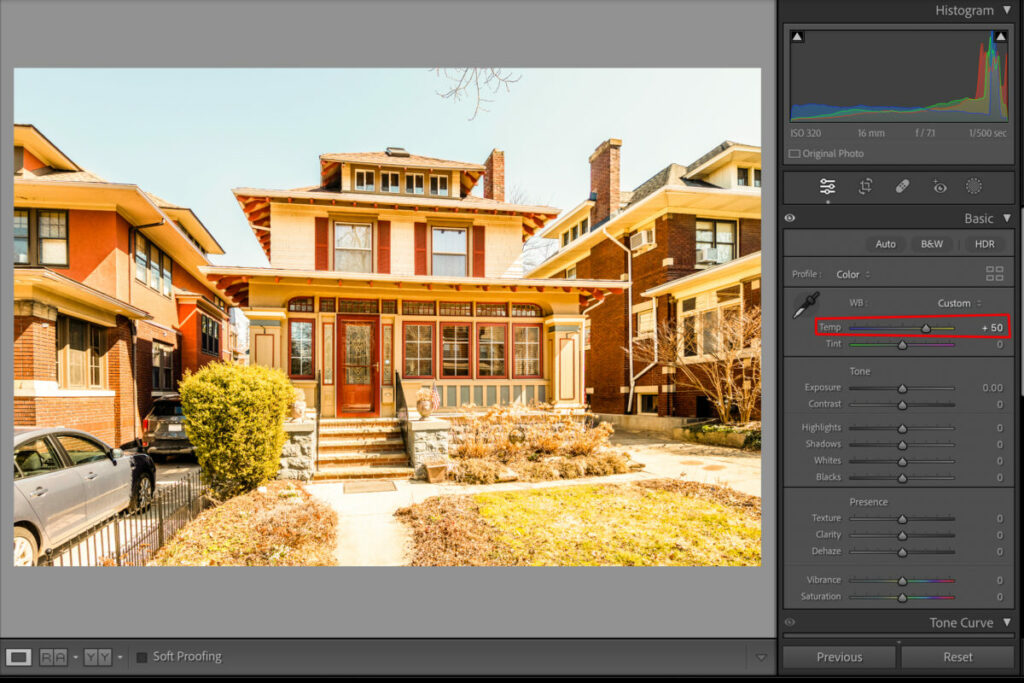
The temperature slider in Adobe Lightroom is a fundamental tool in photo editing, especially for real estate photography. It adjusts the color balance of an image, altering the warmth or coolness of the colors in the photo.
Moving the slider to the right (towards yellow) makes the image warmer, adding a yellow/orange tint. This can create a cozy, inviting atmosphere in real estate photos. Conversely, sliding it to the left (towards blue) cools down the image, adding a blue tint, which can evoke freshness or a sense of calm.
Tint
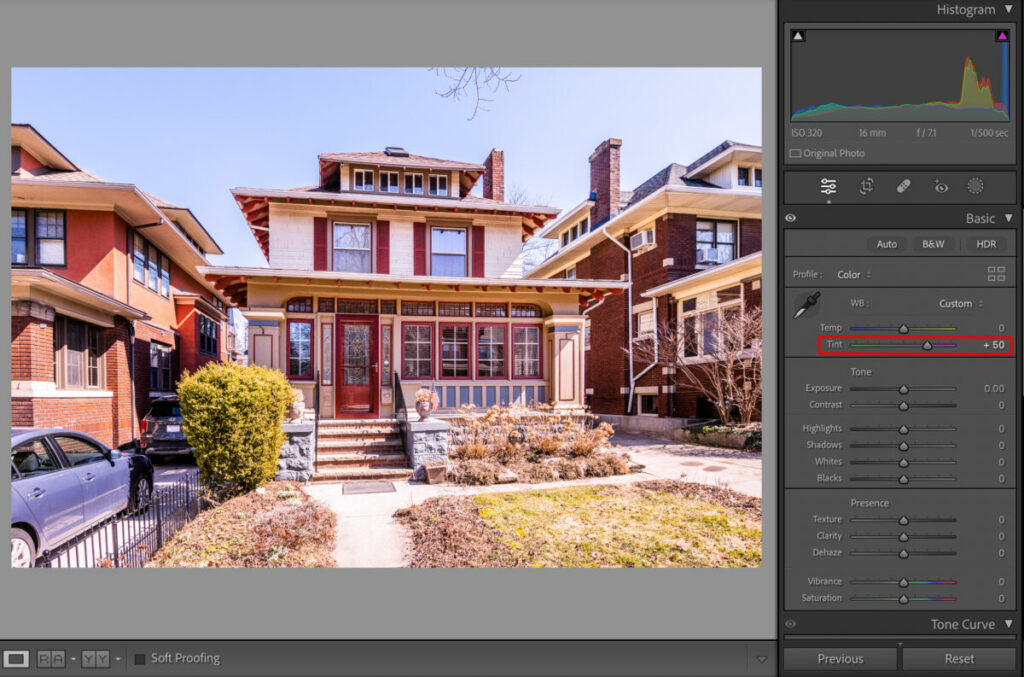
The tint slider is used to adjust the magenta-green balance in an image. Moving the slider towards magenta adds a pinkish hue, while moving it towards green adds a greenish tint.
This tool is essential for correcting color casts that are not addressed by the temperature slider alone. It’s particularly useful in neutralizing the colors in an image to make them look more natural.
Exposure
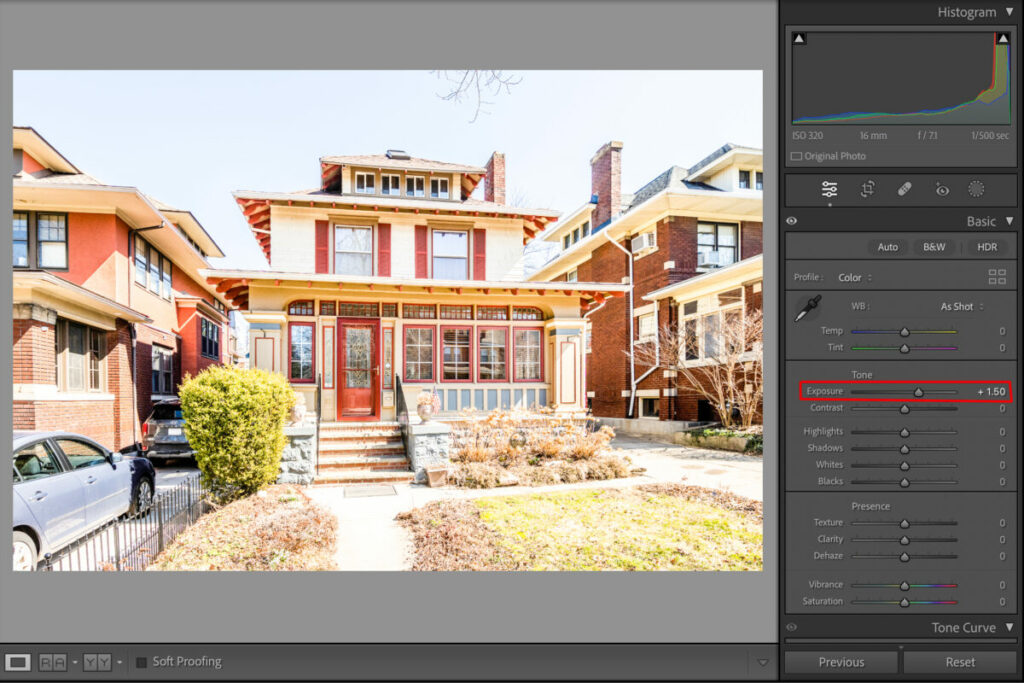
The exposure slider controls the overall lightness or darkness of a photograph. Sliding it to the right increases the exposure, making the photo brighter, while sliding it to the left decreases the exposure, darkening the photo.
In real estate photography, capturing the right exposure in-camera can be challenging due to varying light conditions. The exposure slider helps in post-processing to fine-tune the brightness, ensuring that the property looks inviting and well-lit.
Contrast
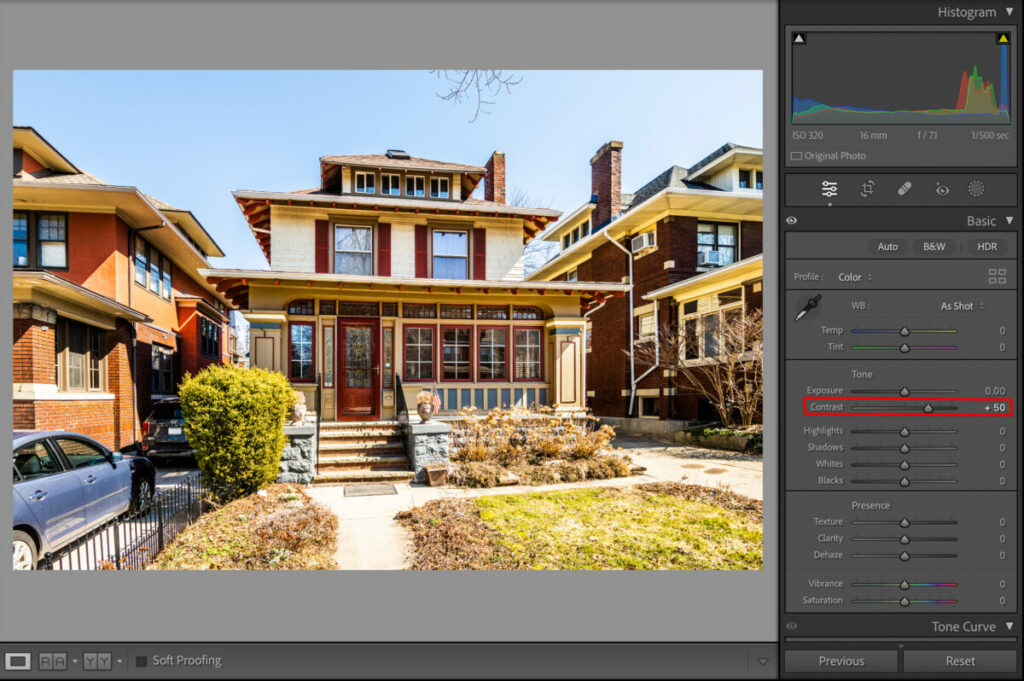
The contrast slider adjusts the difference between the dark and light areas of an image.
Increasing the contrast makes the darks darker and the lights lighter, leading to a more pronounced distinction between these areas. Decreasing the contrast does the opposite, flattening the range and reducing the distinction between light and dark areas.
Real estate photos benefit from the right amount of contrast, as it adds depth and dimension to the images.
Highlights
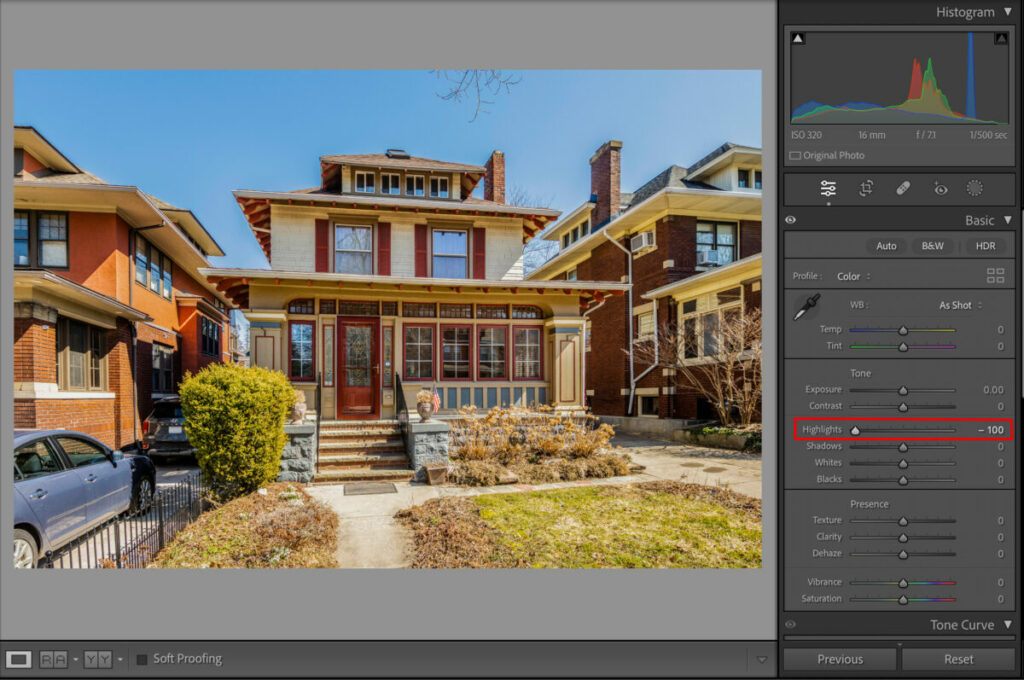
The highlights slider specifically targets and adjusts the brightest parts of a photo.
When you move the slider to the left, it reduces the brightness of the highlights, bringing back detail that may have been lost in overly bright areas. Conversely, sliding it to the right increases the brightness of these areas, which can be useful if the highlights are too dull or underexposed.
In real estate photography, a common challenge is shooting interiors with windows, where the outdoor light can be overpowering. The highlights slider can be used to tone down the brightness of the windows, ensuring that the view outside is visible and well-balanced with the interior.
Shadows
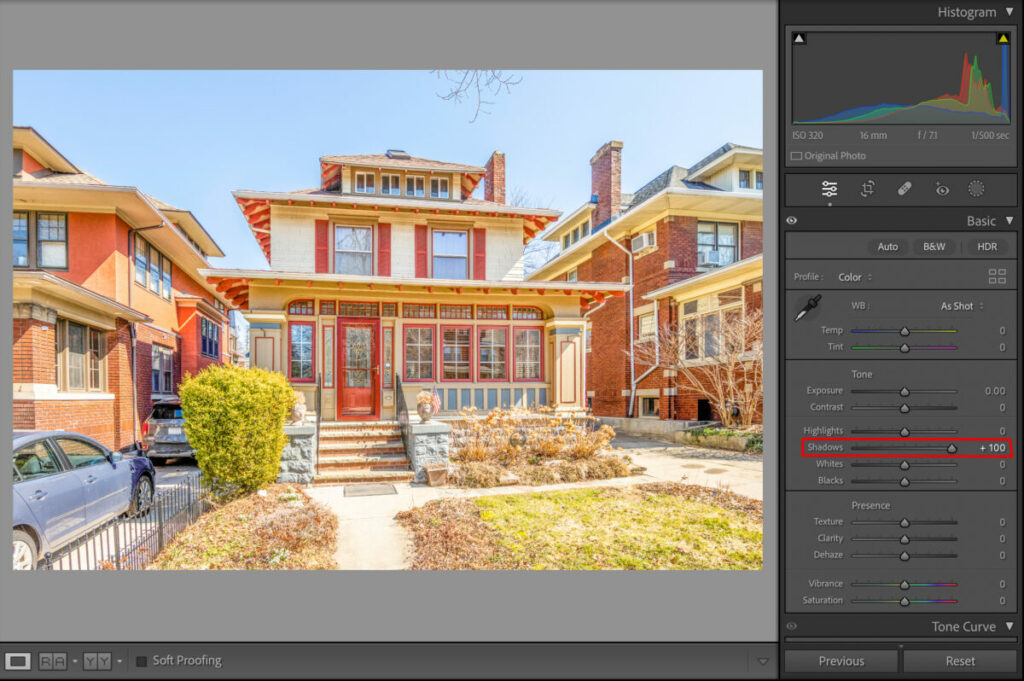
The shadows slider specifically adjusts the darker areas of an image. Moving the slider to the right lightens the shadows, revealing more detail in those areas. Sliding it to the left darkens the shadows, which can enhance depth and contrast in an image.
In real estate photography, it’s essential to show the details of the entire property, including areas that may not be well-lit. The shadows slider helps brighten these darker areas, revealing details that might otherwise be lost in the photo.
Whites
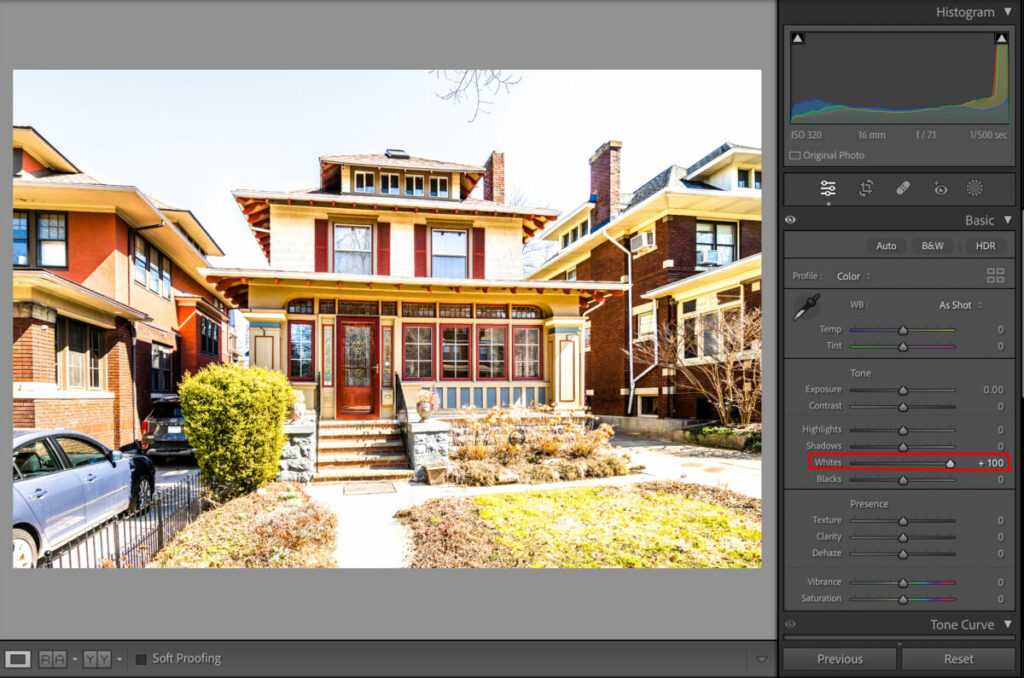
The whites slider adjusts the brightest parts of an image. Moving the slider to the right increases the intensity of the white areas, making them brighter. Conversely, sliding it to the left reduces the brightness of these areas, which can help in maintaining detail in very bright parts of the image.
In real estate photography, the whites slider can be used to enhance the overall brightness and contrast of an image.
Blacks
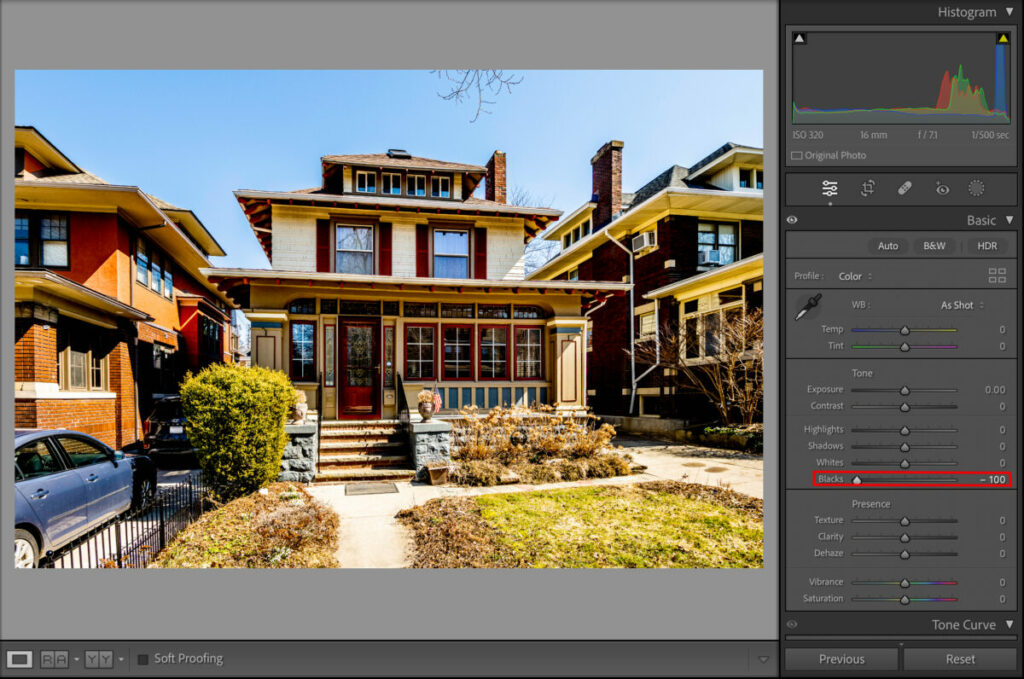
The blacks slider adjusts the darkest elements in an image. Moving the slider to the right lightens the black areas, reducing contrast and revealing more detail in the shadows. Sliding it to the left darkens these areas, enhancing contrast and depth.
Texture

The texture slider is designed to enhance or diminish fine details in an image without significantly affecting the overall sharpness.
Sliding it to the right increases the appearance of texture and detail in the surfaces within the photo, making them more pronounced. Conversely, sliding it to the left softens the textures, giving a smoother look to the surfaces.
Real estate photography often requires showcasing the textures and details of various surfaces, such as the grain of wood floors, the smoothness of countertops, or the plushness of carpets. The texture slider can be used to subtly enhance these details, making them more appealing and noticeable.
Clarity
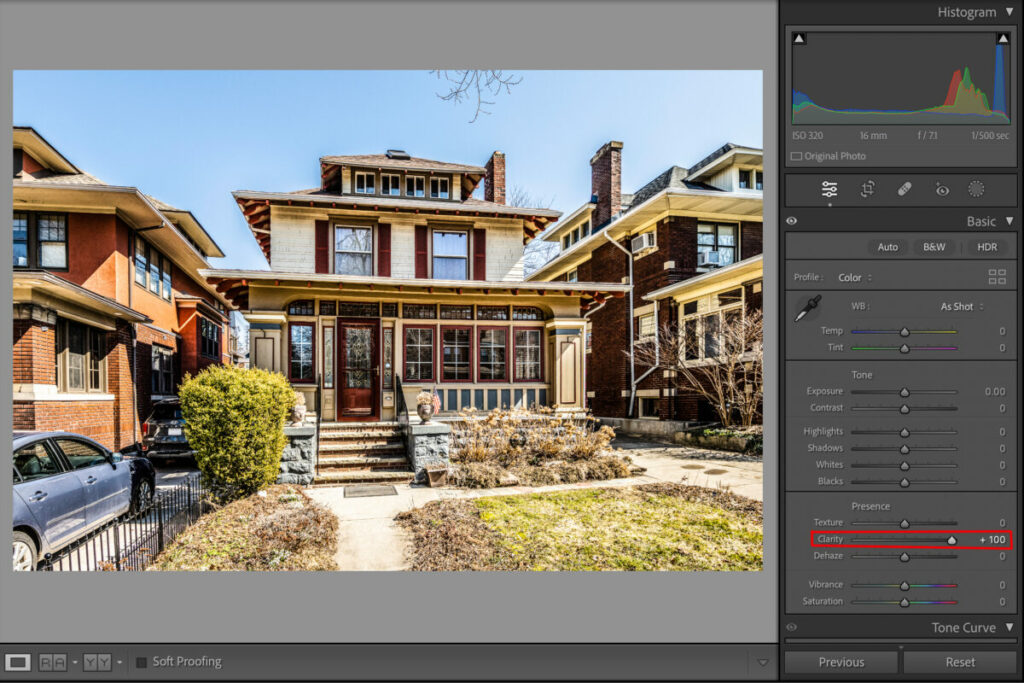
The clarity slider primarily affects the mid-tones of an image, enhancing or reducing the contrast in these areas.
Increasing clarity (moving the slider to the right) makes the mid-tone contrasts more pronounced, which adds depth and definition to the image. Decreasing clarity (moving it to the left) softens these contrasts, giving the image a more ethereal, softer look.
Dehaze
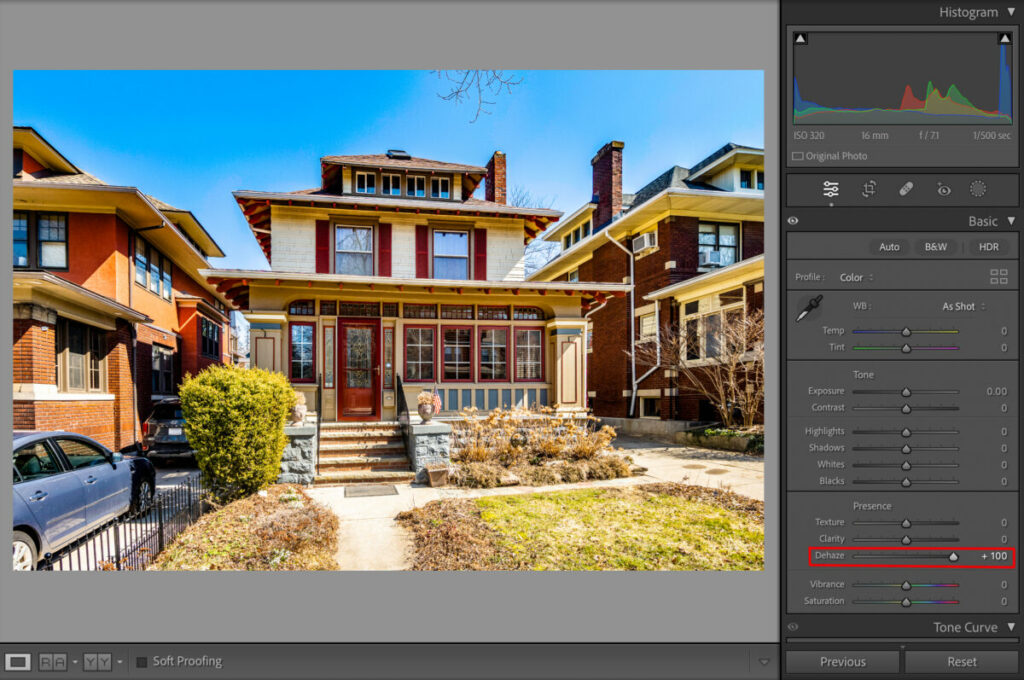
The dehaze slider helps to reduce or increase atmospheric haze in a photo.
When you move the slider to the right, it decreases the haze, adding clarity and contrast to the image. This is particularly useful for cutting through fog, mist, or other forms of atmospheric obscurity. Sliding it to the left increases the haze effect, which can be used for artistic effects or to soften an image.
Vibrance
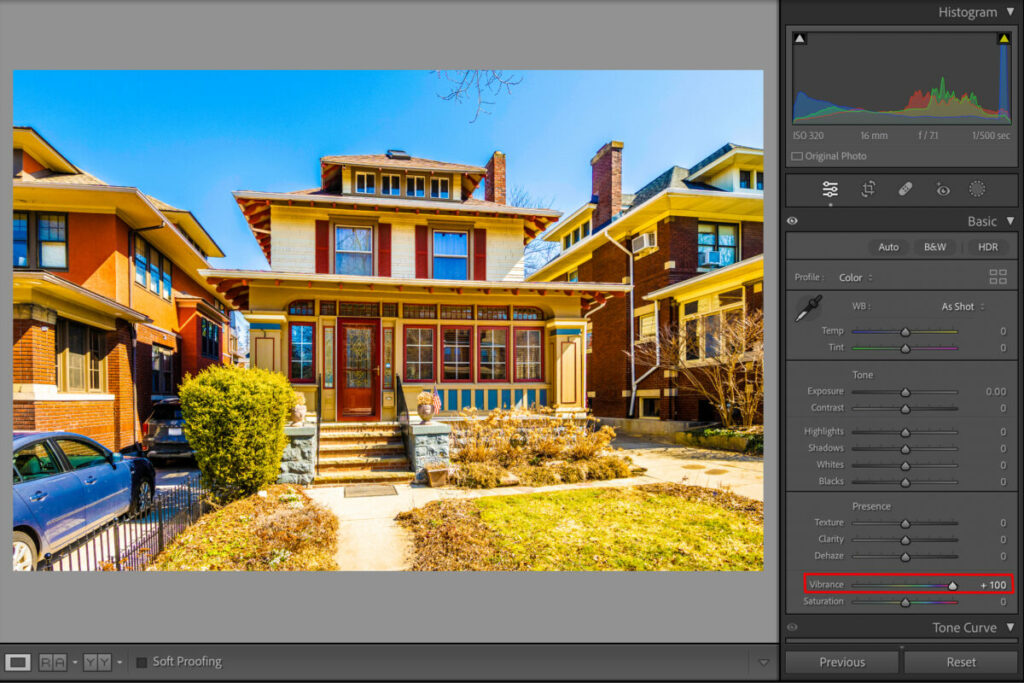
Vibrance subtly enhances the intensity of the more muted colors in an image without overly affecting the already saturated colors. This makes it less aggressive than the saturation slider. Increasing vibrance adds a touch of richness and depth to the colors, while decreasing it results in more subdued tones.
Saturation
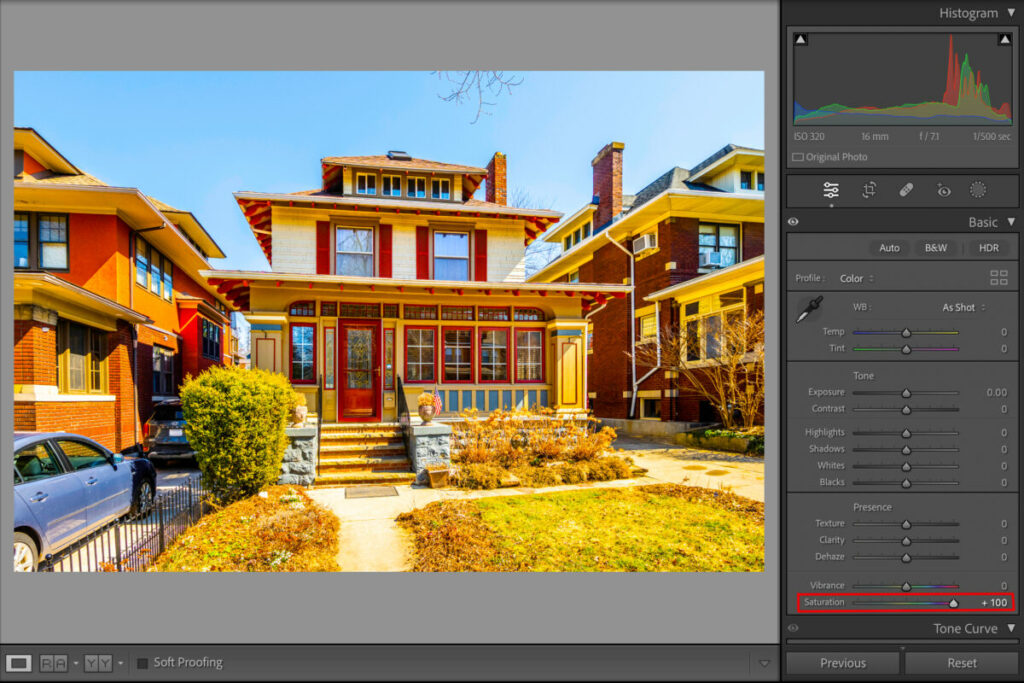
The saturation slider uniformly increases or decreases the intensity and purity of all colors in an image. Sliding it to the right amplifies the colors, making them more vivid and bold. Moving it to the left desaturates the colors, eventually leading to a grayscale image if fully minimized.