
This article uses affiliate links
Fixing Televisions Using The Gradient Tool In Photoshop For Real Estate Photography
An easy way to clean you real estate photos up a bit is to fill in television screens with a black gradient. It fixes any glares or reflections and gives the image a sharper and more refined look.
In this article I’ll share step by step instructions for fixing televisions using the gradient tool in Photoshop for real estate photography.
Table of Contents
Step 1: Open Image In Photoshop
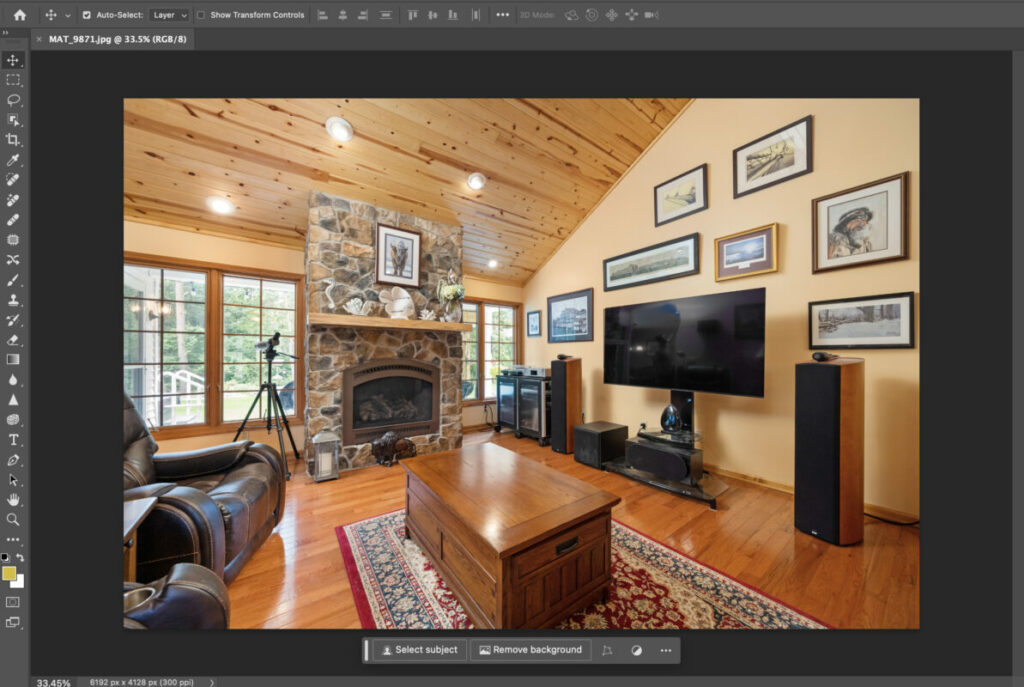
As you can see in the example photo I’ll be editing, the TV to the right of the frame has a major glare and actually shows me bouncing my flash in the reflection. Obviously, I need to fix this before delivering it to a client.
Once I have the image opened in Photoshop, which we named the Best Editing Software for Real Estate Photography, we are ready to fix this television.
Step 2: Find And Select The Polygonal Lasso Tool
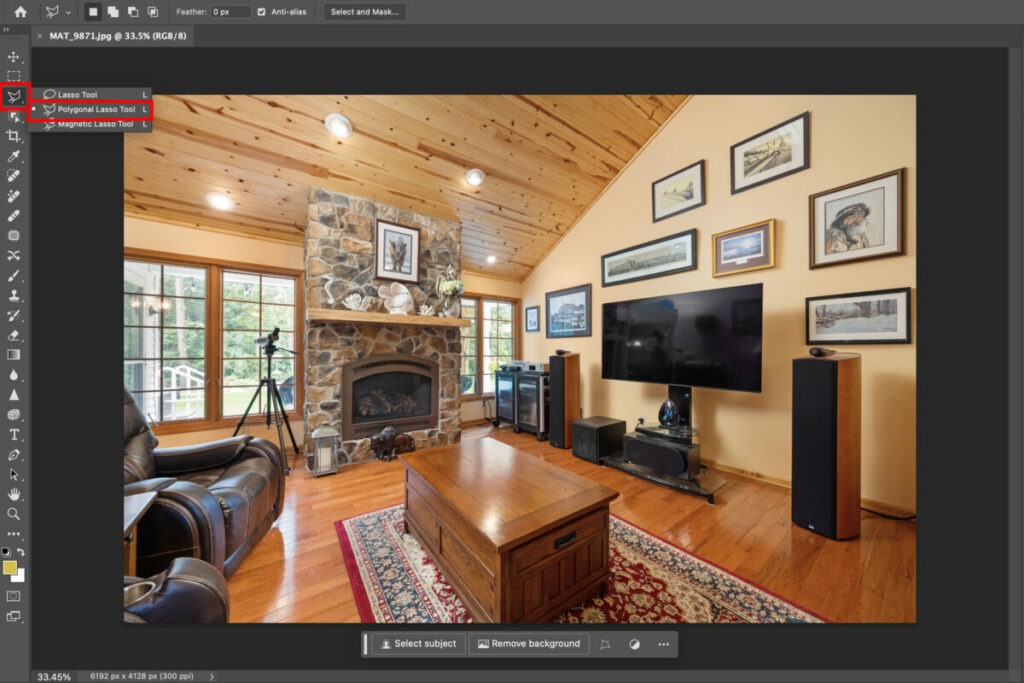
Chances are you’ve used this tool before since it’s one of the most used and most useful tools in Photoshop for selecting something specific in images.
You may see the normal lasso tool available. If you do, right click it and it will give you the option to select the polygonal lasso tool, which is much much better for fixing TV screens.
Step 3: Select Only The TV Screen
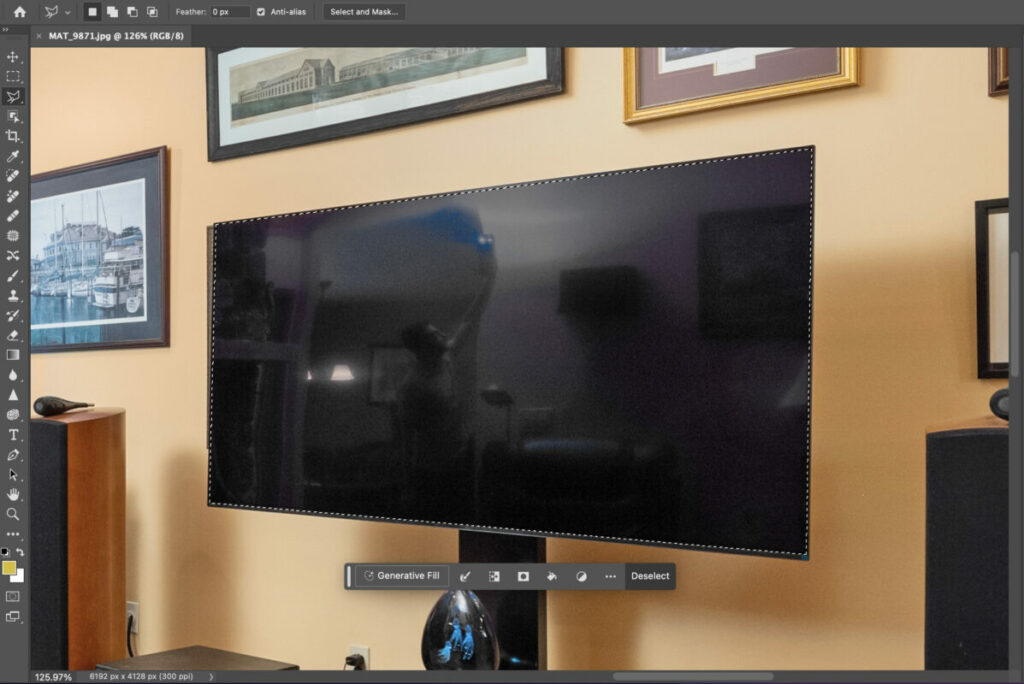
Zoom in a bit so you can see the TV screen with greater detail, then select only the screen itself. This is a very important distinction to make, since selection anything more than the screen will result in a very fake looking photo.
Once you see a dashed line outlining the screen, like you see in the photo above, you’ve successfully selected the screen.
Step 4: Use The Gradient Tool
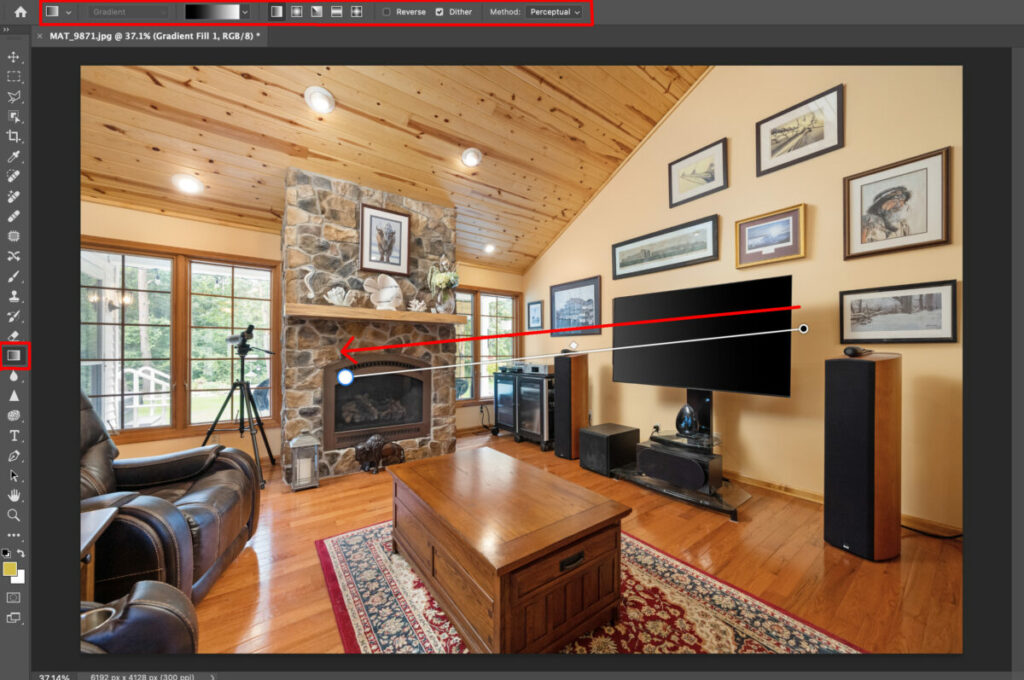
Now that the TV screen is selected, click on the gradient tool in your toolbar. You can see what it looks like by looking at the highlighted red outlines I used in the image above. Make sure you have your gradient in black, which is it’s default color.
Then drag the gradient tool from one side of the TV to the other, like you see outlined in the image above.
An important thing to note here though it that you always want to drag the gradient towards the light source so it looks natural. As you can see in the example image, the windows to the left of the TV are the light source, so that’s the direction I dragged the gradient.
Step 5: Finished Photo

And now you have your final result! A natural, sharp looking TV that no longer shows the harsh glares and reflections.
Additional Resources
Give our article Best Desktop Computers for Photo Editing a read if you want to see the true power of Photoshop and what it’s capable of on a great computer.
If you’re just getting started in real estate photography, check out our Beginners Guide. It’s full of helpful articles and tips that will guide you in the right direction as you begin your real estate photography journey.
You can check out our Gear section as well to see reviews and recommendations on the latest real estate photography gear.
If you’re more interested in other resources that can help your real estate photography business, check out our Business Resources page.