
Creating Actions In Photoshop For Real Estate Photography
Adobe Photoshop is a great tool for any real estate photographer. We even named it the Best Editing Software for Real Estate Photographers. Actions in Photoshop are a powerful feature that can significantly help several aspects of a real estate photographer’s workflow.
In this article I’ll share how to create actions in Photoshop for real estate photography and talk a little bit about why they are so helpful.
Table of Contents
What Are Actions In Adobe Photoshop?
Actions in Adobe Photoshop are essentially a series of recorded commands or steps that can be instantly played back on a single image or a batch of images.
These steps can include anything from simple adjustments like resizing or changing the aspect of an image to more complex sequences involving filters, color adjustments, and layer manipulations.
Once recorded, an Action can be activated with just a few clicks, performing tasks that might otherwise take minutes, or even hours, in mere seconds.
How To Create Actions In Adobe Photoshop
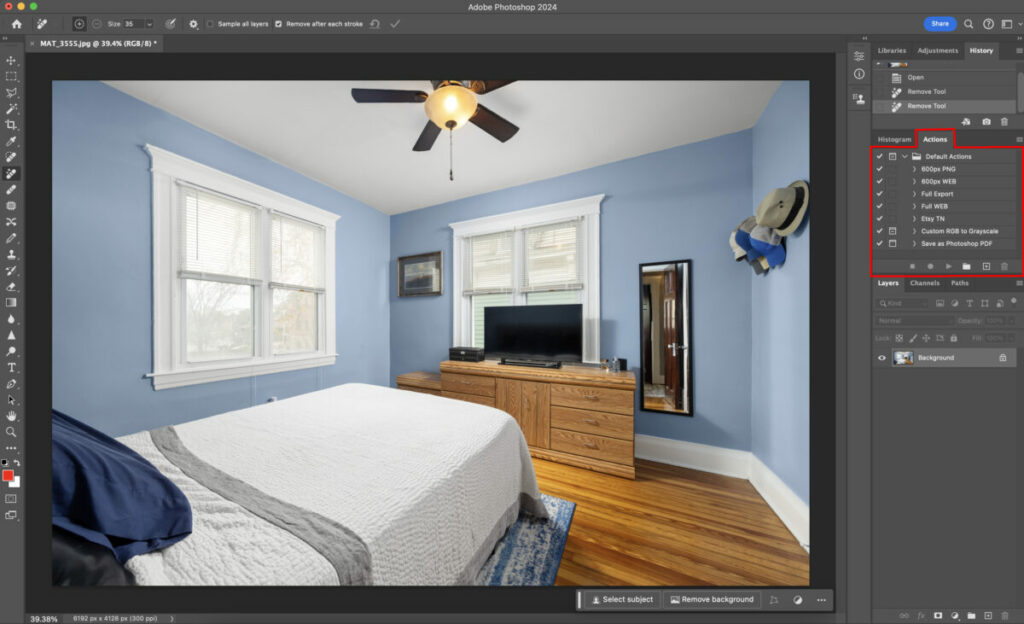
If you have Adobe Photoshop set up in it’s original configuration then you’ll see the actions tab on the right side of the work station. Once you open a photo in Photoshop, this will pop up with the preloaded Actions.
You can reference the image above to see where the Actions tab is. It’s the area highlighting in red.
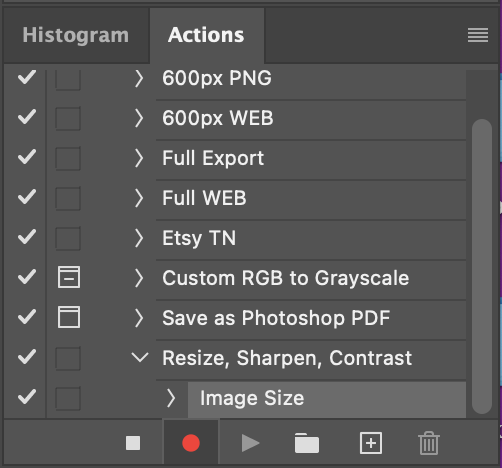
If you click on the dropdown button next to any of the Actions, you’ll see all of the steps that the Action is going to perform.
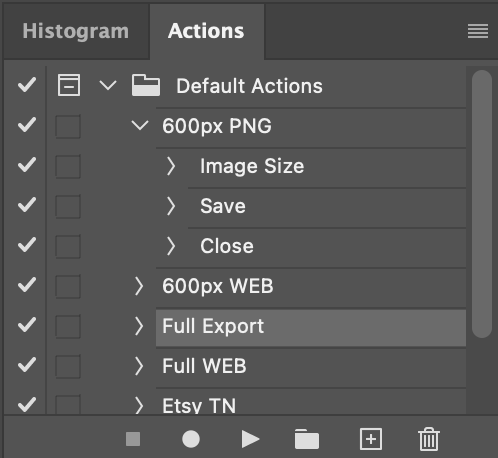
In the image above, you can see the 600px PNG Action changes the files ‘image size’, then ‘saves’ the image, then ‘closes’ the image. This Action will take any photo and resize it to 600 pixels, save the image, then close it within a few seconds.
You will be able to record any sequence of actions exactly like you see above.
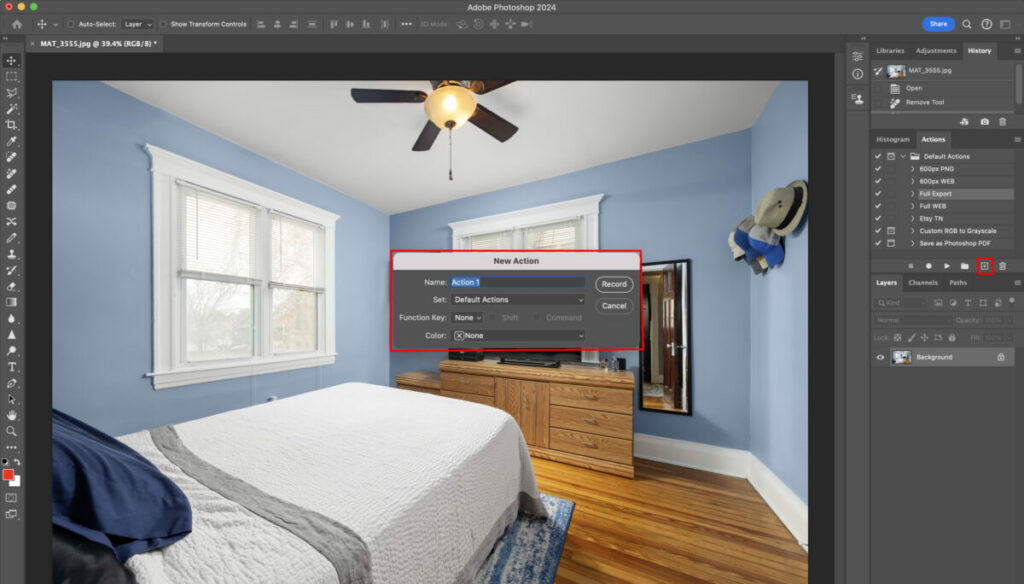
In order to start the process to create an Action in Photoshop, you’re going to need to click the ‘Create Action’ button. You can see that button highlighted in red above to the right of the frame.
Once you click the ‘Create Action’ button a window will pop up in the center of your screen titled ‘New Action’. Choose what you want to name your action and then press record.
You are able to rename the Action later, so don’t worry too much about the name right now. For this example, I’m going to resize the image, sharpen the image, increase the contrast of the image, then save the image.
I’ll have each of these steps recorded, which will then create a new action. Let’s get started.
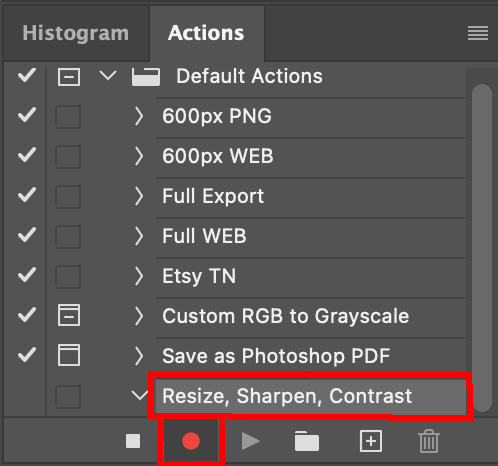
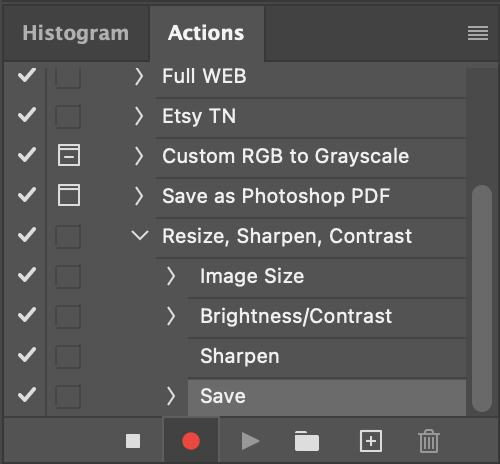
Once you click ‘record’ you’ll notice that a new action has been created (I named this new action ‘Resize, Sharpen, Contrast) and see a red recording button at the bottom. This is how you know the Action is actively recording.
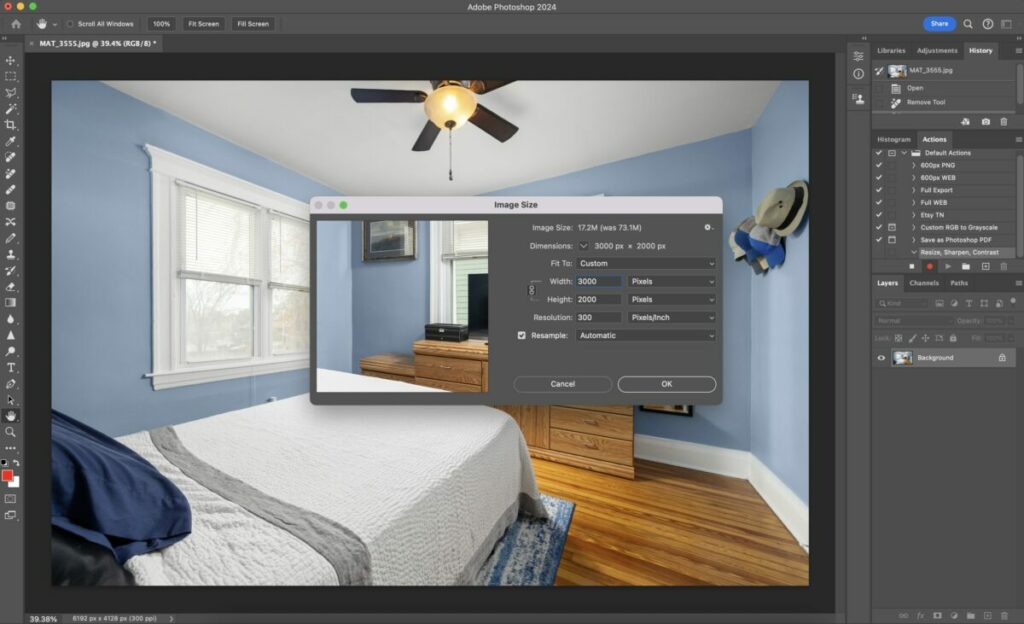
The first step is resizing the photos. I pulled up the Image Resize tool which can be accessed under the “Image” and then “Image Size” menu. I resized the photo to 3000px width, and clicked OK.
After clicking OK, you’ll see the Action has then added your first step, “Image Size”
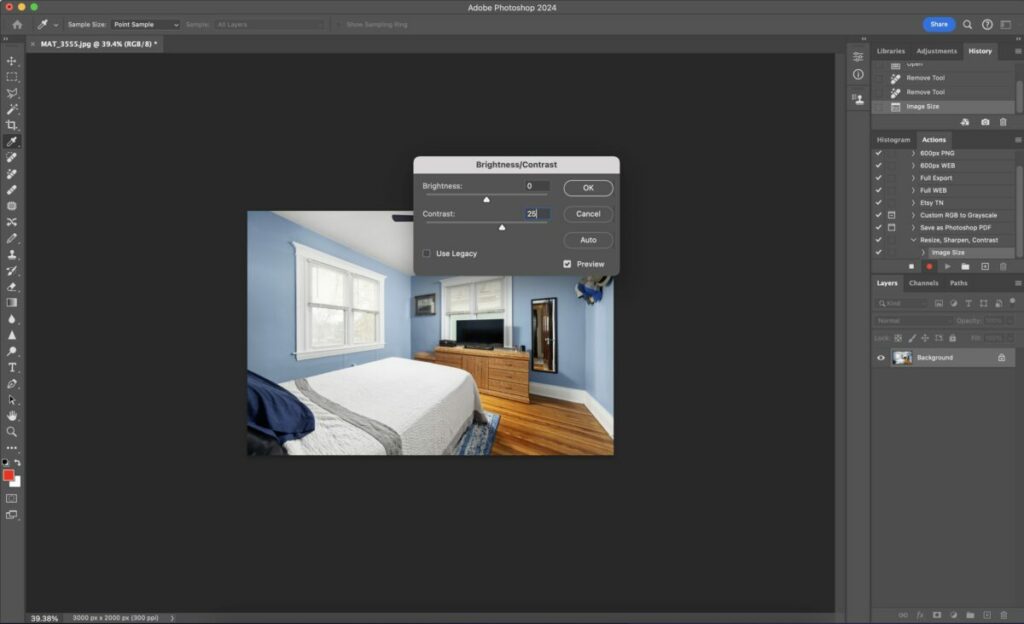
Next, I’m going to add Contrast to the photo by going to the Image menu, then Adjustments, then Brightness/Contrast. Once I click OK, the same thing will happen that happened when we resized the photo.
The change in contrast will be applied to the image and it will be saved to the Action.
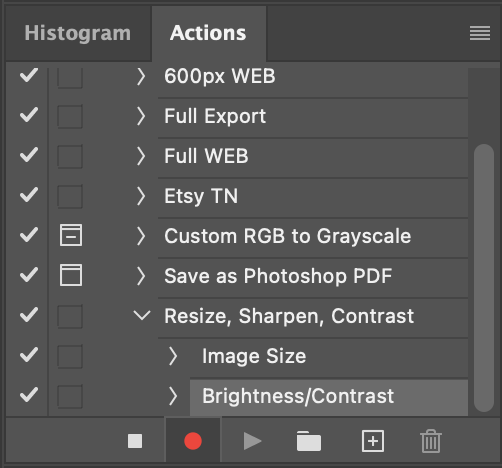
As you can see in the image above, the change in contrast was added to the action.
Then, just like with the two pervious steps, I sharpened the image, which was saved to the Action, and then Saved the photo, which was also saved to the Action.
It’s important to note that wherever you choose to save the image, whether it’s your Desktop or a specific folder, that’s where the Action is going to save the image to every time you use it.
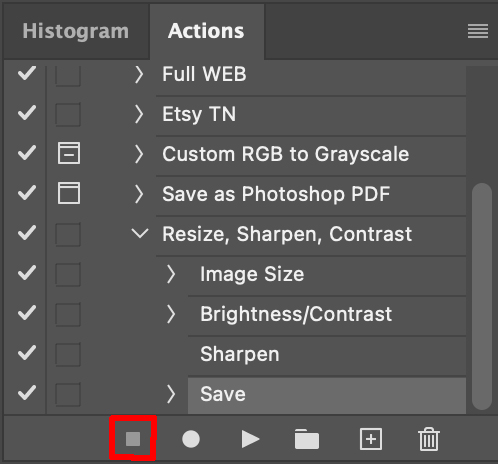
Once you’ve completed the final step of your Action, click the Stop Recording button to finalize the Action. You can reference the red highlighted area in the image above to see where the Stop Recording button is located.
Now, you’ve created a Action in Photoshop and can test it out on an image to make sure it works.
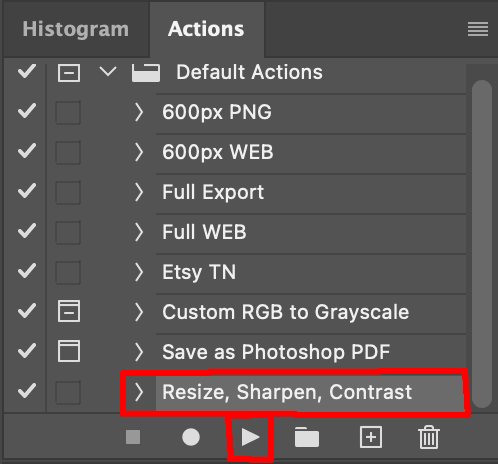
In order to use the Action, simply select the Action by clicking it, then pressing the Play button. You can reference the red highlighted area in the image above to see what it looks like when you select an Action and where the Play button is.
Additional Resources
If you’re just getting started in real estate photography, check out our Beginners Guide. It’s full of helpful articles and tips that will guide you in the right direction as you begin your real estate photography journey.
You can check out our Gear section as well to see reviews and recommendations on the latest real estate photography gear.
If you’re more interested in other resources that can help your real estate photography business, check out our Business Resources page.
1 Comment