
The Cheapest Possible Way to Build a High-Quality Real Estate Photography Gear Kit: An Experiment
In this article, you’ll follow my journey to build the cheapest possible, high-quality real estate photography set up. I conducted this experiment of sorts using simple rules and searching the web for used gear and great deals.
The idea behind this is to show that you don’t necessarily need to spend a ton of money in order to put together a photography gear kit that produces quality real estate photography images. Let’s get started.
Table of Contents
Rules for the Experiment
The main rule for this experiment is that I will only be using well establish, highly trustworthy sites to find the gear. That means no ebay, no Facebook Marketplace, no Craigslist, etc.
Instead, I’ll be looking only at B&H Photo, Adorama, and Amazon. While there are other reputable places online to buy photography equipment, I decided to keep it to these 3 since they are the 3 largest names when shopping for photography gear online.
Of course, if I were to scour the web for great Facebook Marketplace or ebay style deals, then I’m sure I could find much cheaper options. However, I personally would never buy gear off those sites and would recommend that you don’t either.
The only other rule is in regards to the word “quality” and what it means. I intend to build a kit that could be used to photograph high-end homes and just generally make it easy to produce high-quality images.
Now, on to the buying!
The Camera
The camera that I settled on is a used Canon 5D Mark II in ‘very good condition’ that I found on Adorama for $319.

When looking for a camera, I knew I wanted a full frame camera with at least 20 megapixels. This Canon 5D Mark II is the perfect balance between image quality and budget, plus it comes in very good condition.
It will be able to handle low light situations pretty well and is fully capable of being a daily use professional camera for real estate photography.
The Lens
In truth, I searched for the camera and lens at the same time so I could find the best and cheapest combination. In both cases, I found Canon to be the best value.
The lens that I decided to pair with my Canon 5D Mark II is a used Canon 17-40mm F4L USM in ‘excellent condition’ from Adorama for $349.
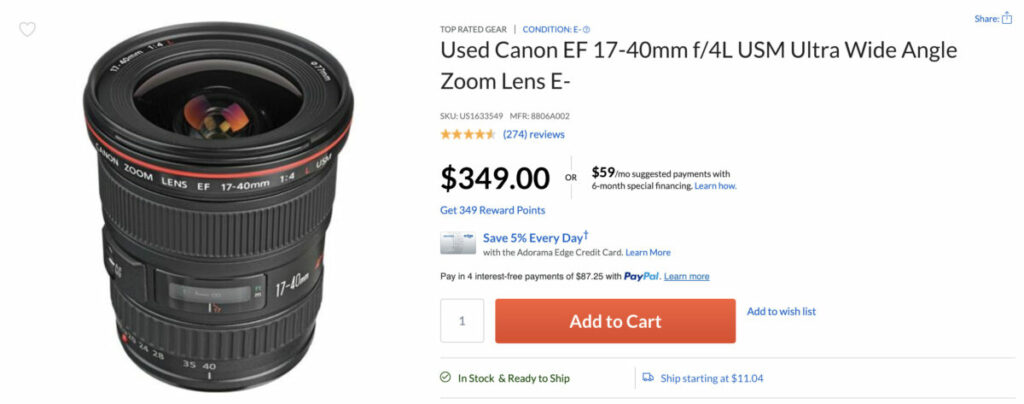
This Canon 17-40mm F4 is actually a fantastic lens for real estate photography and it’s in great condition.
It’s the ideal focal lengths, is well built, and pairs perfectly with the Canon 5D Mark II. This camera and lens combination is more than good enough to capture very high quality real estate photos.
The Tripod
Finding a cheap quality tripod was harder than I expected. I figured this would be an easy place to save some money while still getting a great deal, but that wasn’t really the case.
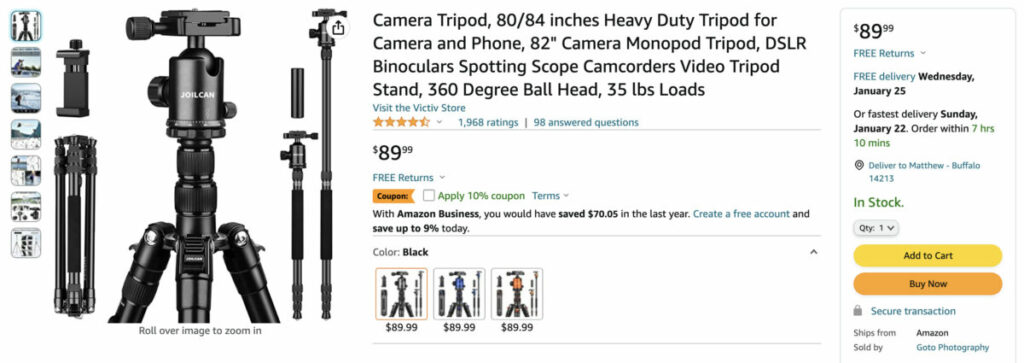
There were 2 legitimate options that I found, but I decided to go with a new Joilcan Tripod off of Amazon for $89.99.
The other option I found was a used Manfrotto Compact tripod on B&H Photo for $94.95.
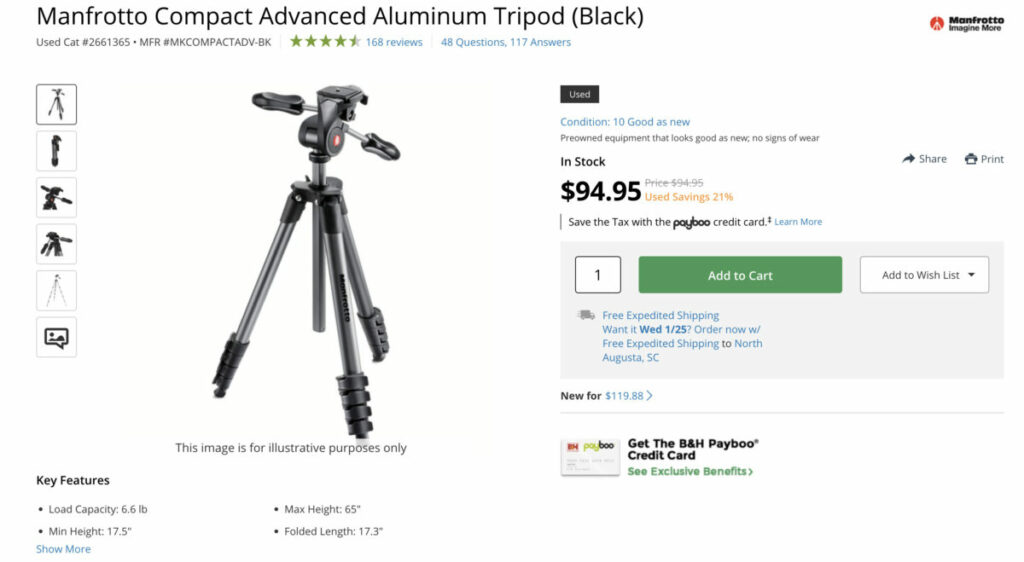
I decided to go with the Joilcan because, even though I do love the Manfrotto brand and own a Manfrotto myself, the Joilcan is clearly a more durable tripod, I’ll be getting it brand new, and it’s actually $5 cheaper.
The Other Necessities
SD Card
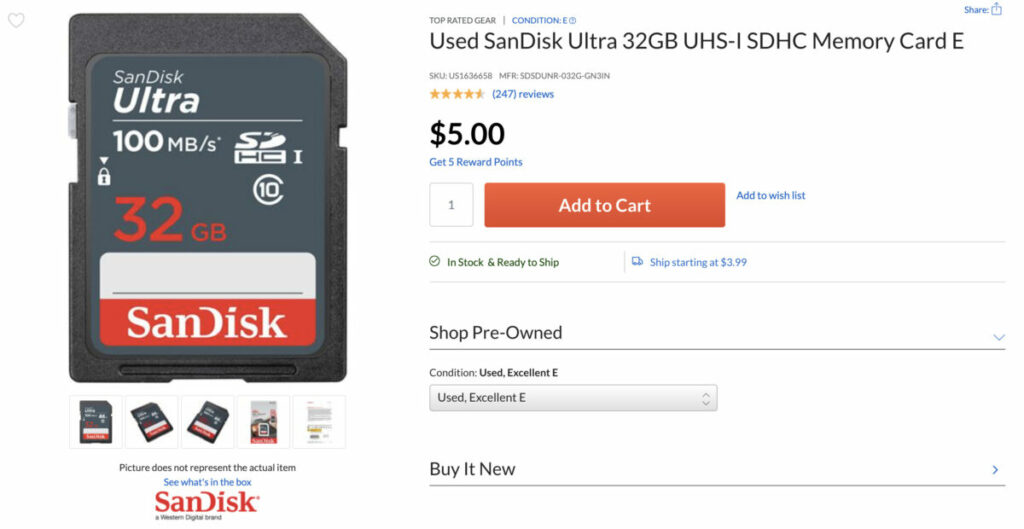
Top on the list of other necessities was a decent SD card so I can actually use all of that equipment I just purchased. This was an easy one. A used 32GB Sandisk Ultra in ‘excellent condition’ from Adorama is only $5.
Camera Bag
Since we’re only going to be bringing our camera, lens, and tripod to jobs we don’t need a large bag. Honestly, we might not even need a bag at all if we’re willing to just carry them in hand.
Personally though, I would want a small bag just to put my camera in so it’s easier and safer to transport. That’s why I went with a used Think Tank Mirrorless Mover 20 rated as being in ’10 out of 10 condition’ from B&H Photo for $39.95.
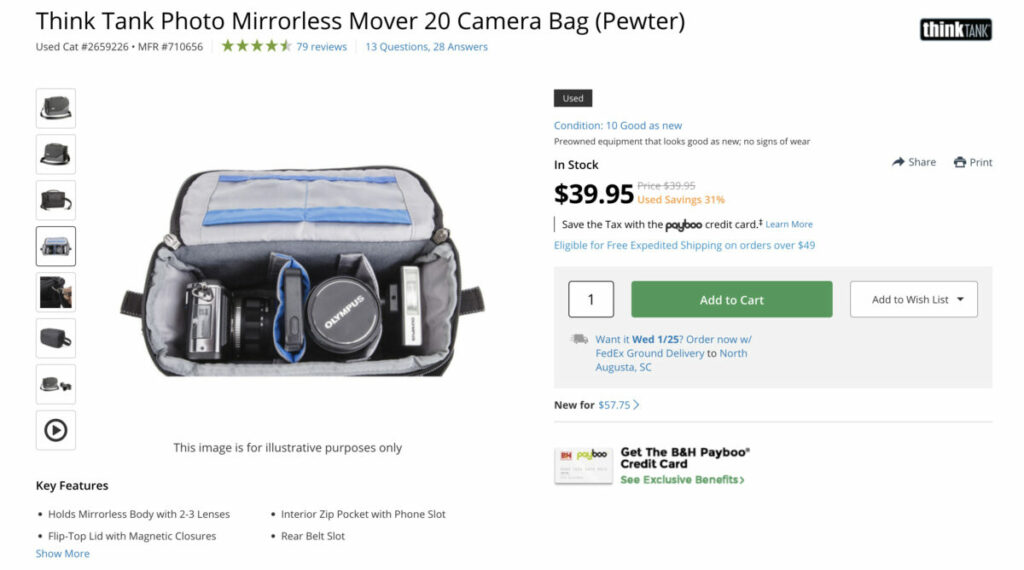
It’s small, simple, safe, and cheap. That’s all we need now.
External Hard Drive
Maybe this piece of equipment isn’t exactly a “necessity” but I have a hard time imagining being a professional real estate photographer without it.
An external hard drive is going to be extremely helpful and frankly, it doesn’t cost much to provide you with a ton of value. I chose to go with a used WesternDoor 2TB My Passport rated a ‘9 out of 10 condition’ from B&H Photo for $48.95.

There was a used WD 1TB My Passport available on B&H Photo for $44.95, but I figured spending $4 extra for another TB of storage is very worth it.
Editing Yourself vs Using an Editor
Finally, I had to decided how I would edit these photos and deliver them to my clients. This lead directly to the question of editing the photos myself, or sending them off to an editor.
Editing the photos myself will lead to less cost over time, but sending them off to an editor would save me a lot of money up front.
I decided to search for the equipment necessary for each situation.
Editing Yourself
If I’m going to edit the photos myself, I’ll need a computer capable of editing the images plus editing software.
The computer I decided on was a used Lenovo 15.6″ IdeaPad 5 rated a ‘9 out of 10 condition’ on B&H Photo for $499.95.
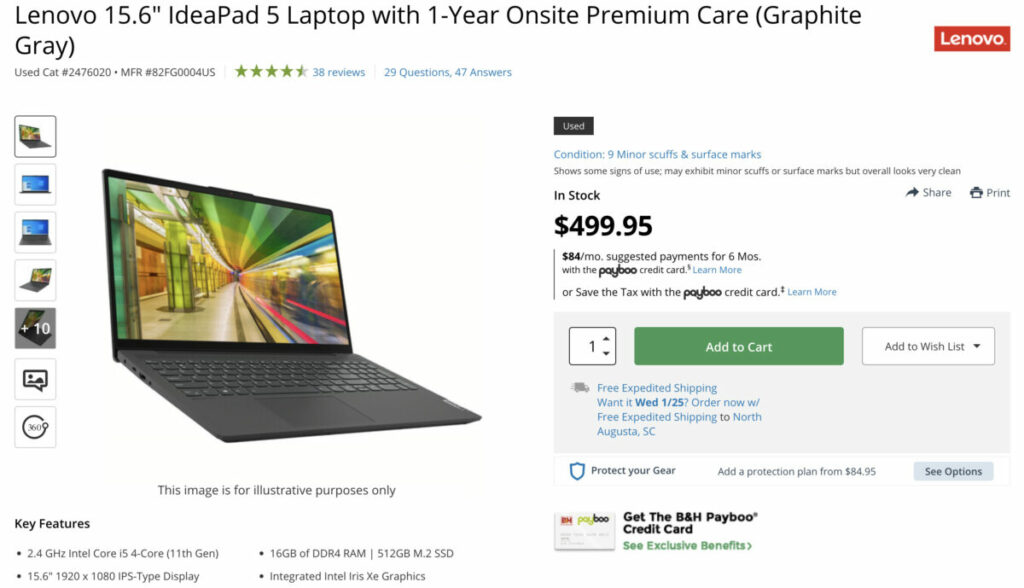
There were without a doubt cheaper used options, but I chose this laptop because I decided it was actually capable of running my preferred editing software without me wanting to throw it out the window in frustration.
The editing software I chose is Adobe’s Lightroom and Photoshop for a $9.99/month subscription.
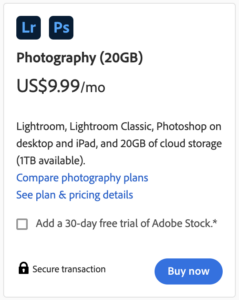
This shouldn’t be a surprise at all since I named these 2 programs The Best Editing Software for Real Estate Photography. If I’m going to edit my own photos, I’m happy to pay $10/month to use the top of the line software.
Using an Editor
Deciding to send your photos off to an editor only requires a computer that you can upload the images to, then sending them to your chosen editor. Easily the cheaper option upfront since you don’t need a highly capable computer or a subscription to editing software.
I chose to go with a used HP 15.6″ HD Notebook in ‘excellent condition’ from Adorama for $199.
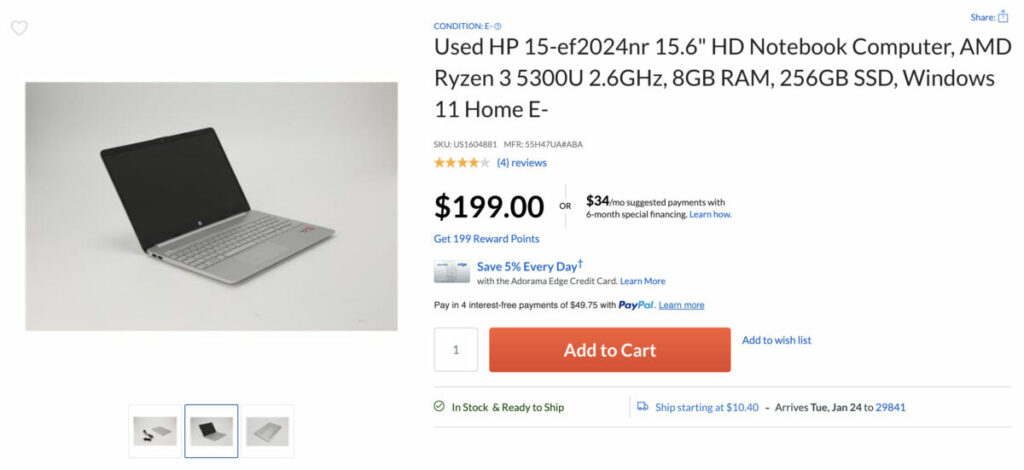
Again, there were cheaper options available, but going with this ‘excellent condition’ HP Notebook with 8GB of RAM actually allows me to have a decent laptop and it comes in at a great price.
Final Equipment List and Total Cost
Now that I’ve found all the equipment I need to be a professional real estate photographer, let’s see what the list looks like and how much I spent.
Equipment List
Camera: Canon 5D Mark II
Lens: Canon 17-40mm F4L USM
Tripod: 80″ Joilcan Heavy Duty
Camera Bag: Think Tank Mirrorless Mover 20
SD Card: SanDisk 32GB Ultra
Computer: Lenovo 15.6″ IdeaPad 5
Hard Drive: WesternDoor 2TB My Passport
Editing Software: Adobe Lightroom and Photoshop
Total Cost
If we decide to edit our own images and purchase everything on the list, which would be the most expensive option, the total cost would be $1351.84 plus a $9.99 monthly subscription for Adobe Lightroom and Photoshop.
Not bad at all for a complete professional real estate photography set up.
If, however, we decided to send the photos to an editor and skip purchasing anything that isn’t 100% essential, we could spend quite a bit well.
The minimum requirements are only the camera, the lens, the tripod, the SD card, and a laptop capable of uploading and delivering images. For just those pieces of equipment, the total cost would be only $961.99 plus the per image editing fee you’ll need to pay the editor.
Additional Resources
If you’re just getting started in real estate photography, check out our Beginners Guide. It’s full of helpful articles and tips that will guide you in the right direction as you begin your real estate photography journey.
You can check out our Gear section as well to see reviews and recommendations on the latest real estate photography gear.
If you’re more interested in other resources that can help your real estate photography business, check out our Business Resources page.